To master fragrance blending at home, you'll need essential tools like blotter strips, glass jars, pipettes, and a detailed notebook. Start with the classic 30-50-20 ratio of top, middle, and base notes while testing in a well-ventilated space. Use clean q-tips or blotter strips to evaluate scents, and document every combination's performance over time. Take regular breaks to prevent nose fatigue. Discover how these fundamentals can transform your blending journey into professional-quality creations.
Essential Tools for Home Fragrance Testing

Success in home fragrance testing begins with having the right tools at your disposal.
The right tools are the foundation of successful fragrance development, turning inspired ideas into perfectly balanced scents.
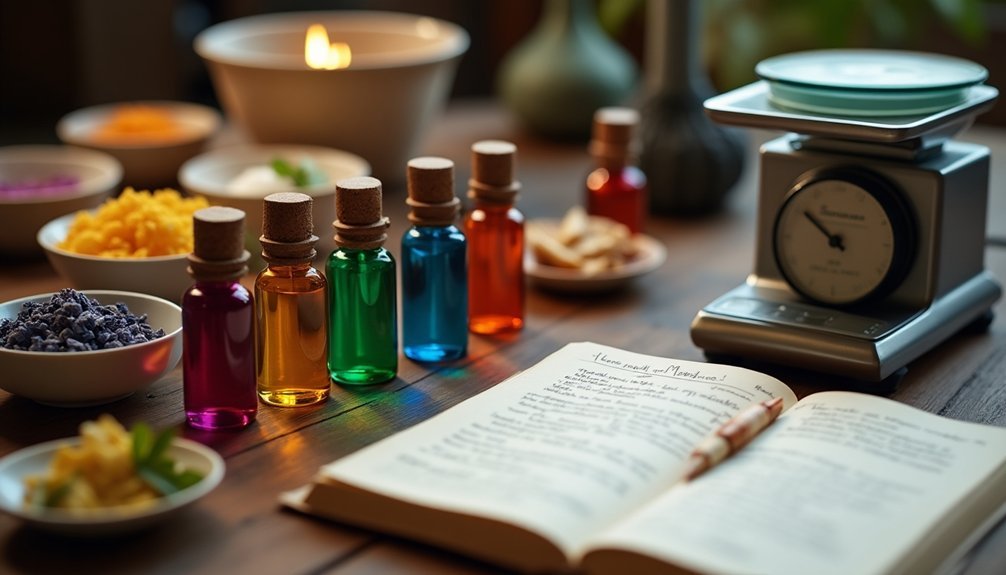
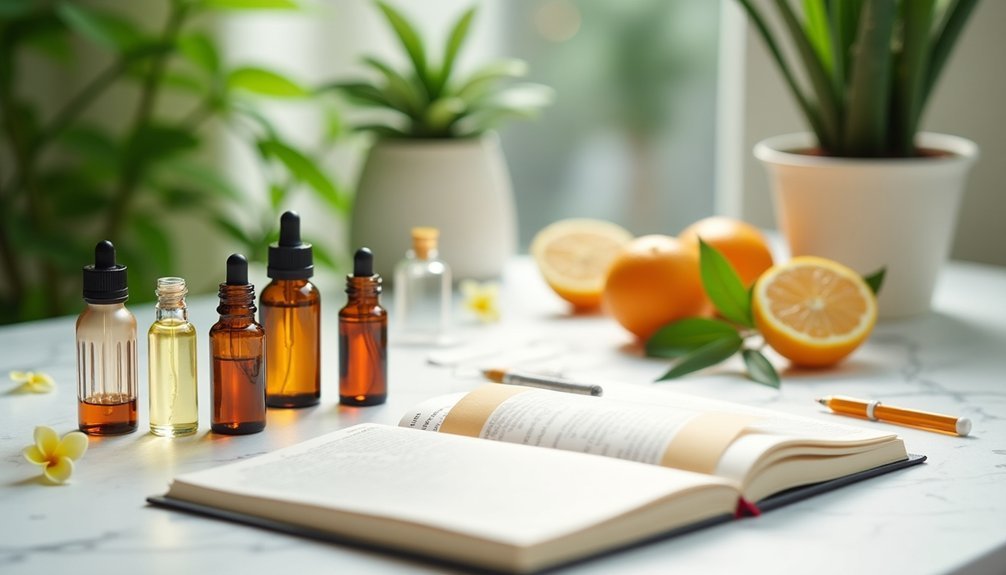
You'll need blotter strips to conduct initial evaluations and small glass jars to preserve your fragrance blends. A pipette or dropper is essential for measuring oils with precision, guaranteeing you can recreate successful combinations.
Keep a detailed notebook nearby to document your experiments, including specific ingredients and their ratios. This record-keeping will help you track what works and refine your techniques.
For extended testing periods, wrap scent samples in aluminum foil-lined paper towel squares to maintain their integrity.
Don't forget to test your blends in their intended base medium – whether it's wax for candles or carrier oils for perfumes. This final step guarantees you'll get an accurate preview of your finished product.
Understanding Base, Middle, and Top Notes
When creating your own fragrances, understanding the three distinct note categories is crucial for achieving a balanced and long-lasting scent.
Your fragrance journey begins with the top note, which creates the first impression through light, volatile elements like citrus and herbs, lasting just 5-15 minutes after application.
The middle note emerges as your fragrance's heart, featuring floral and spicy elements that can persist for several hours.
Finally, the rich base notes provide the foundation, offering deep, lasting scents like woods and musks that can remain for days.
To craft a well-balanced fragrance, aim for a composition of 30% top note elements, 50% middle note components, and 20% base notes.
This ratio guarantees your scent develops harmoniously, maintaining its character throughout its wear time.
Preparing Your Testing Environment

Now that you understand the composition of fragrance notes, setting up the right testing space will determine the accuracy of your scent experiments.
Choose a well-ventilated area away from competing aromas and distractions to sharpen your ability to detect subtle scent variations. Your testing environment should maintain consistent temperature and humidity levels, as these elements can affect how you perceive fragrances.
Store your fragrance oils in clean glass jars or ceramic containers to prevent contamination from other scents. Keep a detailed notebook nearby to record your observations, mixing ratios, and any modifications you make during testing.
Remember to give your nose regular breaks between sampling different scents. This practice helps prevent olfactory fatigue and guarantees you'll make precise assessments throughout your testing session.
Blotter Strip Techniques and Best Practices
To begin your scent evaluation, you'll need to dip a clean blotter strip into your fragrance oil and allow it to dry for several seconds before taking your first sniff.
Next, you'll want to make notes about your initial impressions, and then continue observing how the scent changes over time by checking the strip at regular intervals.
For extended testing sessions, wrap your used blotter strips in aluminum foil, which helps preserve the fragrance evolution and lets you compare multiple scents without confusion.
Strip Preparation Steps
Since accurate fragrance evaluation depends on proper blotter strip preparation, mastering the basic techniques is crucial.
Begin by cutting your blotter strips into uniform 3-4 inch lengths to guarantee consistent testing results. You'll want to work with one fragrance at a time, using a fresh strip for each scent to avoid mixing.
When starting your strip preparation steps, dip one end of the blotter into your fragrance oil and let it dry for a few minutes. This prevents your nose from becoming overwhelmed by excessive scent.
Wait 15-30 seconds after application before evaluating the fragrance, allowing the top notes to settle.
After testing, store your used blotter strips in a sealed container or envelope – this helps preserve the scents and makes future comparisons easier.
Evaluating Scent Development
Mastering scent development evaluation requires a systematic approach with your prepared blotter strips. After dipping your strips in fragrance oils, you'll need to wait a few minutes to allow the scents to develop properly. This patience is vital for accurate fragrance blending results.
As you evaluate each strip, pay close attention to how the scent profile evolves. The top notes will dissipate quickly, revealing the middle and base notes underneath.
Keep detailed notes of your observations at different time intervals to track how each fragrance transforms. You'll want to document your initial impressions and how the scent changes over time. This systematic recording helps you understand which combinations work best together and enables you to refine your future blending experiments with greater precision.
Q-Tip Method for Quick Scent Evaluation

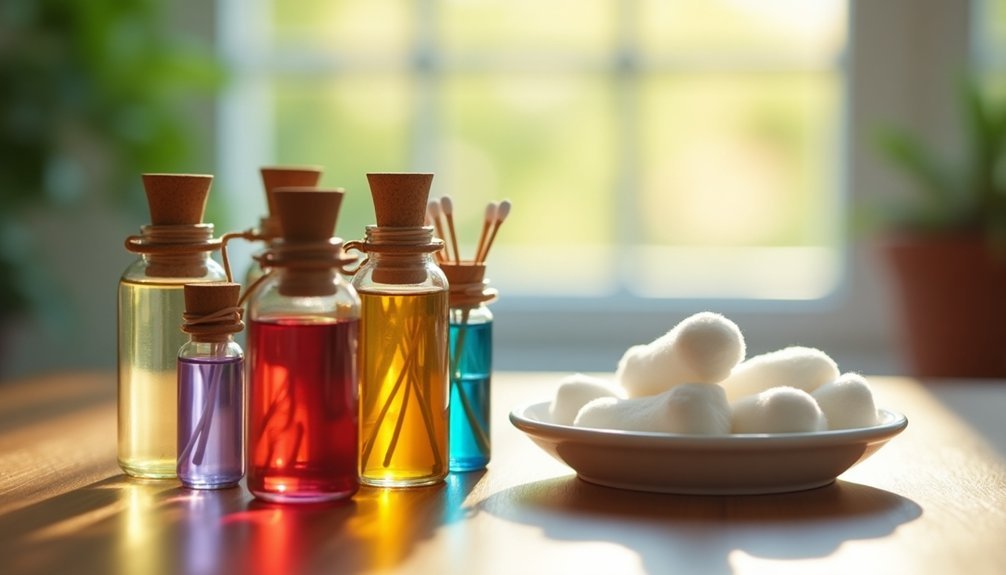
To begin testing fragrances with Q-tips, you'll need just a few basic items: cotton swabs, aluminum foil, a marker for labeling, and your chosen scent oils.
You'll want to dip each Q-tip carefully into the fragrance oil, making sure not to oversaturate the cotton and keeping separate swabs for different scents to prevent mixing.
Simple Testing Setup Required
When exploring fragrance combinations, you'll find that the Q-tip method offers one of the simplest yet most effective ways to evaluate scents. Through trial and error, you'll discover that clean cotton swabs and a systematic approach are essential for accurate testing.
| Setup Item | Purpose |
|---|---|
| Clean Q-tips | Prevent scent contamination |
| Fragrance oils | Test materials |
| Notebook | Record observations |
| Timer | Track development time |
Before diving into your scent evaluations, set up your workspace with these basic items. Dip each Q-tip into your chosen fragrance oil and allow the blend to develop for a few minutes. While you're waiting, jot down your initial impressions in your notebook. Remember that while this method works great for preliminary testing, you'll want to verify your findings in your final product medium, such as wax, for the most accurate results.
Proper Q-Tip Dipping Technique
The successful Q-tip dipping technique relies on three key steps for accurate scent evaluation.
First, you'll dip one end of a clean Q-tip into your fragrance oil, being careful not to oversaturate it.
Then, allow the scent to develop for a few moments before evaluating.
Finally, compare the Q-tip scent with the fragrance directly from the bottle to understand how the scent evolves.
Follow these essential guidelines for the Q-tip method:
- Use a fresh Q-tip for each fragrance to prevent scent mixing
- Let the fragrance settle on the Q-tip before testing to experience its true character
- Keep detailed notes of your impressions for future successful blends
- Compare Q-tip and bottle scents to understand fragrance development
This systematic approach guarantees you'll capture accurate scent profiles while developing your fragrance combinations.
Track Results Over Time
Successfully tracking your Q-tip test results over time requires both systematic documentation and proper storage techniques.
Take notes on your fragrance combinations immediately after mixing them, as your initial impressions are essential for understanding how scents interact. You'll want to document the exact ratios used and your detailed observations about each blend.
To preserve your test samples for future reference, wrap your scented paper towels in aluminum foil, which helps prevent the aromas from evaporating too quickly.
Create a simple categorization system by sorting your blends into 'good,' 'maybe,' and 'bad' groups. This organized approach will help you refine your combinations and maintain consistency in your scent development process.
Remember that scents can evolve, so checking your stored samples periodically will give you valuable insights into how fragrances mature over time.
Documenting Your Blend Experiments
Maintaining detailed records of your scent experiments is essential for developing your blending expertise. When documenting your blend experiments, use a dedicated notebook to capture every aspect of your fragrance journey.
Create a consistent format that includes dates, ratios, and immediate impressions, along with how scents develop over time.
- Rate each blend on a standardized scale for attributes like complexity and appeal
- Track how fragrances perform in different mediums like wax or lotions
- Note your inspiration and purpose behind each blend creation
- Record observations about scent evolution and environmental impacts
Developing Your Fragrance Testing Timeline
Creating an effective fragrance testing timeline helps you systematically evaluate and perfect your scent blends. Start by allowing your newly blended fragrances to rest for 24 hours, as this settling period reveals notes that make up the true character of your creation.
Plan your scent testing schedule to include both cold and hot throw evaluations. Check the cold throw within 48 hours of making your candle, then assess the hot throw after burning for at least two hours.
Remember to take regular breaks during testing to prevent olfactory fatigue and maintain accurate assessments. Keep detailed notes throughout each stage, documenting how the fragrance develops and changes over time.
This methodical approach will help you track your progress and make informed adjustments for future blends.
Common Blending Ratios and Proportions
You'll find success in fragrance blending by starting with the classic 20-50-30 ratio of base, middle, and top notes for a well-balanced scent profile.
When you're new to blending, begin with equal parts of just two or three fragrances before fine-tuning the proportions to match your preferences.
To maintain consistency in your experiments, make small test batches and record your exact measurements, which lets you replicate your favorite combinations later.
Balanced Blend Starting Points
The art of blending scents begins with proven ratio guidelines that help guarantee a well-balanced fragrance. To create a good blend, you'll want to make sure you're starting with the right proportions. The classic 20-50-30 ratio (base, middle, top notes) provides a reliable foundation for your experiments.
For beginners, here's what you should consider when starting your blending journey:
- Begin with equal parts of each scent to understand how they interact.
- Limit your initial blends to four components maximum.
- Record every combination and ratio you try in detail.
- Use a fragrance wheel to identify complementary scent families.
As you gain confidence, you can adjust these ratios to match your creative vision, but always maintain detailed notes of your successful combinations for future reference.
Classic Three-Note Proportions
Building on the basics of scent blending, successful three-note fragrances rely on time-tested proportional formulas. The classic 20/50/30 ratio provides a reliable framework for your blends, where you'll use 20% base notes for longevity, 50% middle notes for the core scent, and 30% top notes for the initial impression.
If you're looking for a simpler approach, try the 50/50 ratio with just two complementary notes. This straightforward method lets you create balanced combinations while learning how different scents interact.
Whichever ratio you choose, remember to keep your total ingredients to four or fewer to maintain harmony. Always document your proportions carefully – you'll want to recreate your successful blends and refine your technique as you experiment with different combinations.
Simple Two-Scent Ratios
Starting with common two-scent ratios provides an accessible entry point into fragrance blending.
It's a good idea to start small with test batches of 1-2 ml while you explore different proportions.
Consider these essential blending ratios for your experiments:
- 50/50 – Perfect for creating balanced, harmonious combinations where both scents shine equally
- 70/30 – Ideal when you want one fragrance to lead while the other provides subtle support
- 60/40 – Excellent for highlighting specific notes while maintaining complexity
- Record keeping – Document your combinations to recreate successful blends
As you work with these ratios, you'll develop an understanding of how different proportions affect the final fragrance.
Remember to maintain detailed notes of your experiments – this practice will help you consistently recreate your favorite blends while refining your technique.
Evaluating Scent Development Over Time
When you first blend fragrances, what you smell initially won't necessarily reflect the final scent profile. Just like single notes in a melody, fragrance components need time to harmonize and develop their true character.
That's why documenting your scent journey is essential for success.
Start by testing your blend on a q-tip, but don't stop there. You'll need to evaluate it multiple times over several days to understand how the scent evolves. Testing in wax provides an even more accurate picture of how your blend will perform when burned.
Keep your testing environment consistent, as temperature and humidity can affect your results. Record your observations in a notebook, noting which notes become stronger or fade over time – this information will prove invaluable for future blending projects.
Avoiding Olfactory Fatigue During Testing
Testing multiple fragrances requires more than just a good nose – you need a strategy to maintain your scent perception. When conducting a sniff test, you'll want to prevent olfactory fatigue, which can compromise your ability to evaluate scents accurately.
Keep your testing sessions between 30-60 minutes and use blotter strips instead of smelling directly from bottles.
To maintain peak scent perception during your testing:
- Take regular breaks and reset your nose by sniffing coffee beans
- Rotate between different fragrance oils rather than focusing on one scent
- Stay hydrated and guarantee proper ventilation in your testing area
- Use blotter strips or cotton swabs for controlled evaluation
Remember that your nose needs time to recover between scents, so don't rush the process. Your patience will result in more accurate fragrance assessments and better blending decisions.
Scaling Up Successful Test Blends
The process of scaling up a successful test blend requires meticulous attention to detail and precise measurements. When you're ready to increase production of your scents together, maintaining the exact ratios from your successful small batch is essential for consistency.
Start by documenting every measurement from your test blend, then use a digital scale to accurately multiply these proportions.
Before committing to large-scale production, remember that fragrances can evolve during the curing process. You'll want to create a medium-sized test batch first to observe how the note profile develops over time.
Always test your scaled-up blend in its intended medium, whether it's candle wax or body care products. This step guarantees your fragrance performs as expected and maintains its desired characteristics in larger quantities.
Frequently Asked Questions
How Can I Test My Fragrance at Home?
You can test fragrances by dipping blotter strips in oils, checking cold throw on unlit candles, and evaluating hot throw during burning. Use coffee beans between tests to reset your nose's sensitivity.
What Is the 30 50 20 Rule for Perfume?
You'll create balanced perfumes by following the 30-50-20 rule: use 30% top notes for first impressions, 50% middle notes for the core fragrance, and 20% base notes for lasting depth and foundation.
How Do You Test Fragrance Combinations?
Start with equal parts of each scent, using a q-tip to blend them. Let the combination develop on the testing surface. You'll want to make notes and adjust ratios until you've found your perfect blend.
What Fragrance Makes Your House Smell Good?
You'll create an inviting home with vanilla and cinnamon for warmth, citrus for freshness, or lavender for relaxation. Try combining scents like eucalyptus and mint, or match seasonal fragrances to enhance your space.
In Summary
You're now equipped to begin your fragrance testing journey at home. Remember to start small, document your blends, and trust your nose's development over time. Don't rush the process – great fragrances need proper evaluation across hours and days. Keep your testing environment clean, maintain consistent ratios when scaling up, and you'll soon create unique, balanced scents that reflect your personal style.


Leave a Reply