
To safely sterilize glass spray bottles for fragrance use, first empty and disassemble the bottles completely. You'll need to pre-clean them with hot water and natural solutions like vinegar or baking soda. Then sterilize using either boiling water, chemical solutions like ethanol, or UV light treatment. Make sure to air-dry thoroughly in a clean space and handle with gloves during reassembly. Proper sterilization technique is essential for maintaining your fragrance's purity and extending its shelf life.
Why Sterilization Matters for Fragrance Bottles
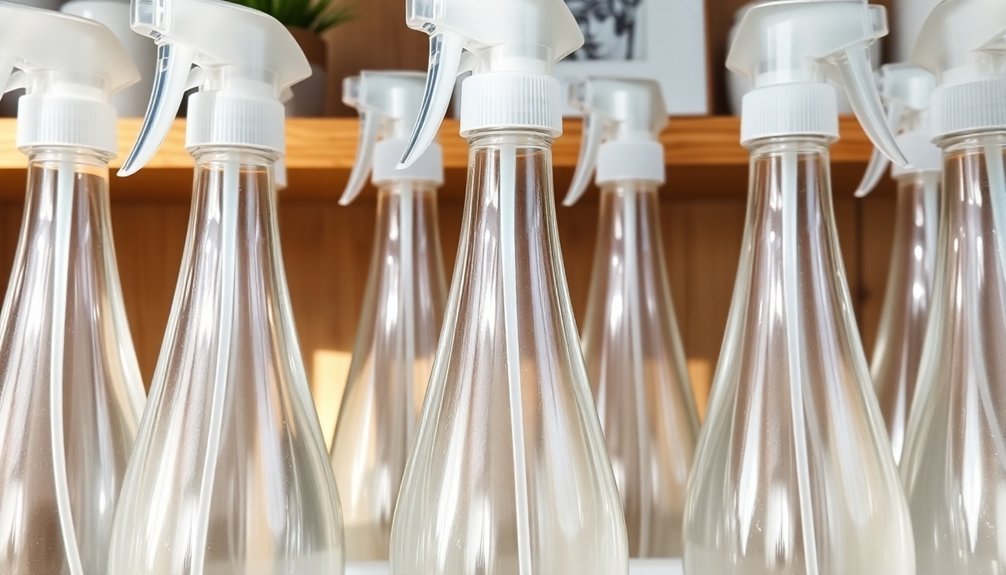
Whether you're creating custom perfumes or repackaging essential oils, sterilizing your glass fragrance bottles isn't just a recommendation—it's a necessity.
Proper sterilization prevents harmful bacteria, mold, and yeast from contaminating your fragrances and compromising their quality.
Sterilizing fragrance containers safeguards against microbial threats that can degrade your scents and compromise product safety.
You'll protect your products from unwanted fermentation that could alter their scent profiles while greatly extending their shelf life.
High-quality packaging is essential for protecting your fragrance formulations and maintaining their intended characteristics over time.
By maintaining sterile conditions, you're not just preserving the fragrance's integrity—you're also ensuring consumer safety by eliminating potential health risks from microbial growth.
If you're running a fragrance business, sterilization helps you comply with industry regulations and builds your reputation for quality.
It's a critical step that gives you a competitive edge while demonstrating your commitment to delivering safe, premium products to your customers.
Essential Tools and Materials for Bottle Sterilization
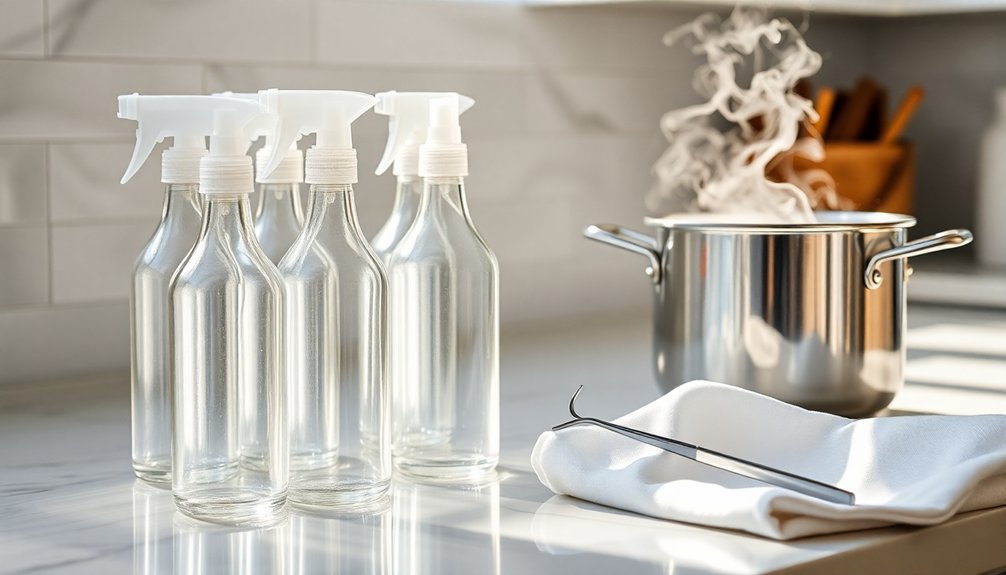
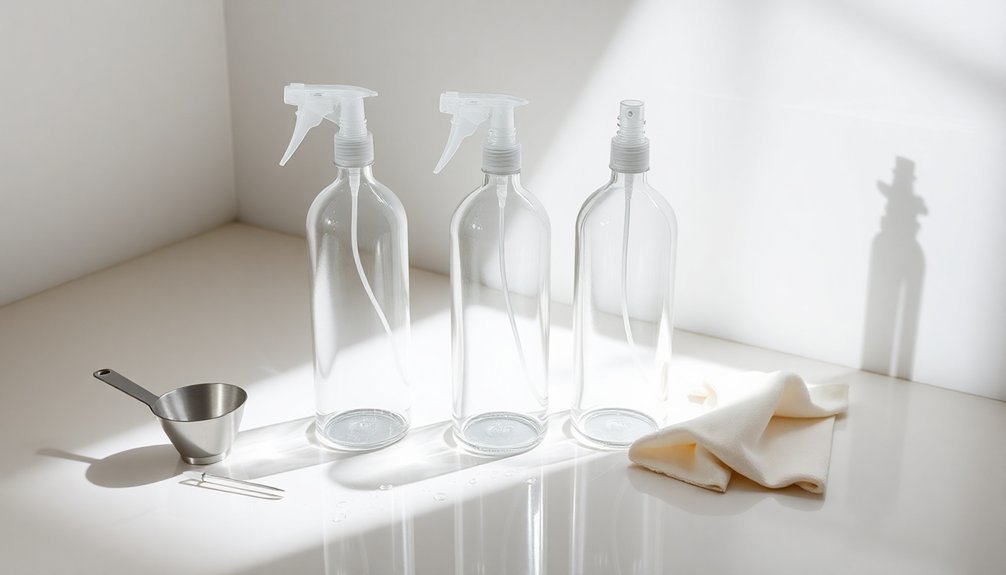
Before starting your bottle sterilization process, you'll need to gather specific tools and materials that match your preferred sterilization method.
For boiling water sterilization, equip yourself with a large pot and heat-resistant tongs or jar lifters.
If you're using chemical sterilization, you'll need unscented bleach, clean water, and plastic containers in a well-ventilated space.
Steam sterilization requires an electric steamer or steam-generating equipment, along with safety gloves and distilled water.
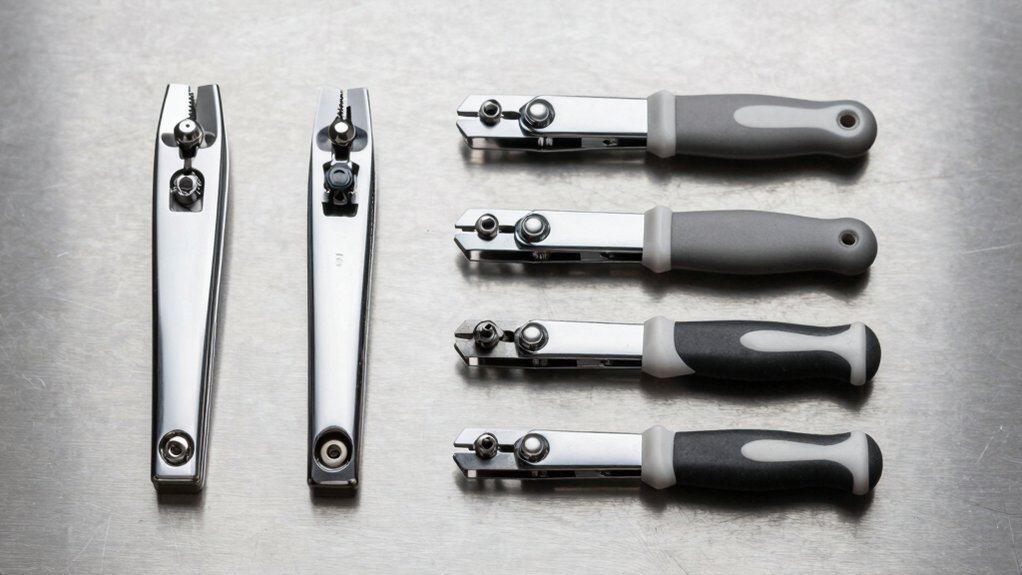
For UV sterilization, you'll need a specialized UV lamp and timer to guarantee proper exposure. Maintaining the spray bottle mechanism with proper cleaning tools helps prevent clogging and ensures effective sterilization.
If you prefer microwave sterilization, gather microwave-safe containers and clean towels for drying.
A dishwasher with a sanitize setting can also effectively sterilize your glass bottles and lids.
Pre-Cleaning Preparation Steps
Before sterilizing your glass spray bottles, you'll need to empty out any remaining contents and take apart all components, including the spray mechanism, cap, and any removable parts.
You'll want to carefully examine each bottle for hairline cracks, chips, or other damage that could compromise safety during the sterilization process.
Check the bottle's structural integrity by running your fingers along the surface and holding it up to a light source to spot any defects that might lead to breakage or contamination. Following proper inspection, remember that boiling water method is the most effective way to sterilize your glass containers.
Empty and Disassemble Completely
Proper preparation serves as the foundation for effectively sterilizing glass spray bottles.
You'll need to start by completely emptying your bottle, using a gentle pouring motion to transfer any remaining fragrance to a smaller container. If you encounter sticky residue, use a small brush to help remove it.
Next, you'll want to tackle the label removal. Soak the bottle in hot water for 10 minutes to loosen the adhesive, then carefully peel it off using tongs and a towel for grip. For stubborn labels, try a baking soda soak.
Finally, disassemble the dispenser, keeping track of each component. Carefully separate the actuator, dip tube, and closure mechanism while wearing protective gloves. Don't force apart non-removable parts to avoid damage.
Inspect for Container Damage
Three key inspection points confirm your glass spray bottle is safe for sterilization.
First, examine the bottle under bright light, rotating it slowly to spot any cracks, chips, or stress points that could worsen during the sterilization process. Even tiny fractures can compromise the bottle's integrity.
Next, check for any leftover residues from previous contents or cleaning agents. Hold the bottle up to a light source and look for film, cloudiness, or stubborn substances that could contaminate your fragrance. If you detect unusual odors, that's a red flag.
Finally, verify that the bottle's dimensions haven't been altered and that all closure components fit properly. Confirm the neck isn't warped, the threads aren't damaged, and the spray mechanism assembles smoothly.
Discard any bottles that fail these checks.
Natural Cleaning Solutions and Methods
You can effectively clean glass spray bottles using common household vinegar mixed with equal parts water, which creates a natural disinfecting solution.
For stubborn residue, create a paste with baking soda and water, then scrub the inside of the bottle with a bottle brush to remove buildup.
These natural cleaning methods are safe, eco-friendly alternatives to chemical cleaners and won't leave harmful residues in your bottles.
Vinegar-Based Cleaning Solutions
Natural vinegar solutions offer a cost-effective and eco-friendly approach to cleaning glass spray bottles. You'll find that mixing vinegar with water in a 1:1 ratio creates an effective cleaning solution that can remove residue and light buildup from your bottles.
| Vinegar Solution | Best Use Case |
|---|---|
| 1:1 Ratio | General Cleaning |
| Full Strength | Tough Residue |
| 1:3 Ratio | Light Cleaning |
| With Essential Oils | Deodorizing |
While vinegar kills about 80% of bacteria, it's not a complete sterilization solution for glass bottles. You can enhance its effectiveness by adding a few drops of essential oils to mask the strong smell. Remember to avoid leaving undiluted vinegar on your bottles for extended periods, as this may cause damage. For thorough sterilization, consider combining vinegar cleaning with traditional methods like boiling or using your dishwasher's sanitize cycle.
Baking Soda Sanitizing Methods
Building on vinegar-based solutions, baking soda offers another powerful approach to sanitizing glass spray bottles.
You'll find this natural, non-toxic cleaner particularly effective for removing stubborn grime while being gentle on glass surfaces. Its mild abrasive properties make it perfect for thorough cleaning without the risk of scratches.
Create a simple yet effective cleaning routine with these baking soda methods:
- Make a paste by mixing baking soda with warm water, then apply it directly to tough stains.
- Soak your bottles in a baking soda solution to loosen debris and eliminate odors.
- Use dry baking soda as a gentle scouring powder for targeted cleaning.
For best results, thoroughly rinse your bottles after cleaning and guarantee they're completely dry before use.
You can also combine baking soda with dish soap for enhanced cleaning power.
Chemical Sterilization Techniques
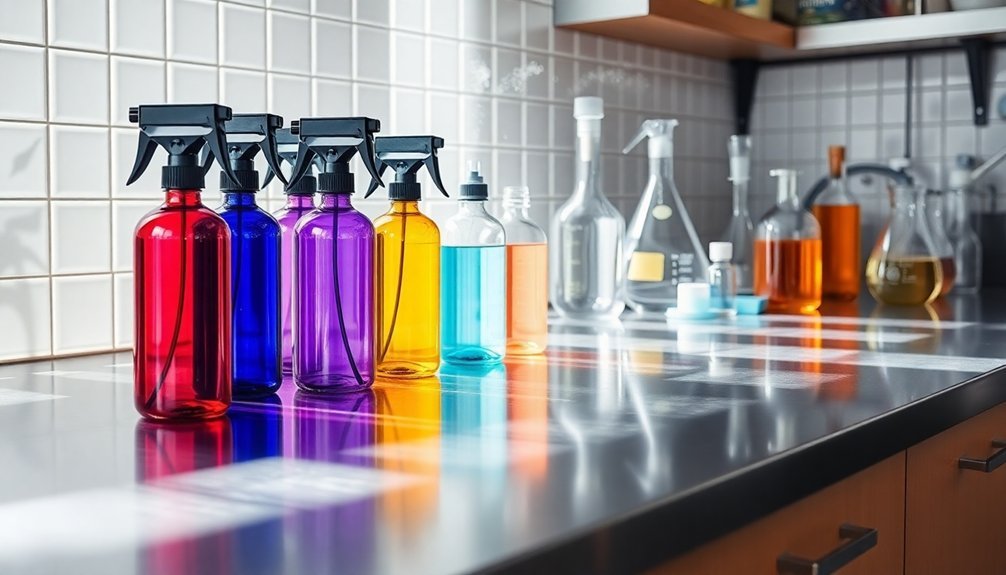
Chemical sterilization provides an effective alternative when heat-based methods aren't suitable for your glass spray bottles. You can use ethanol, hydrogen peroxide, or Milton solution to achieve thorough sanitization of your containers.
When using these agents, guarantee proper dilution and follow safety guidelines.
To sterilize your spray bottles, you'll need to fully submerge them in your chosen chemical solution for the recommended contact time. Hydrogen peroxide in vapor form works especially well for glass containers, while ethanol serves as a quick disinfectant.
Whatever method you choose, remember to rinse thoroughly afterward to remove any chemical residues.
Always wear protective gear and work in a well-ventilated area when handling sterilizing chemicals. The process requires careful attention to concentration levels and exposure times to guarantee effective results.
Heat-Based Sterilization Methods
When sterilizing glass spray bottles, heat-based methods offer reliable and thorough sanitization. You'll find that dry heat sterilization at 160°C for 2-3 hours effectively eliminates microorganisms, while steam sterilization provides a faster alternative at 121°C for just 15 minutes.
For ideal results, follow these essential steps:
- Inspect your bottles for cracks or damage before applying heat.
- Confirm bottles are completely dry before dry heat sterilization to prevent glass flaking.
- Sterilize bottle tops separately if they're not heat-resistant.
You can use your home oven at 150°C for 20 minutes as a practical sterilization method.
Remember to fill your bottles while they're still hot and store them in a clean, sealed environment to maintain sterility. This approach works particularly well for preparing bottles for fragrance use.
UV Light Sterilization Process
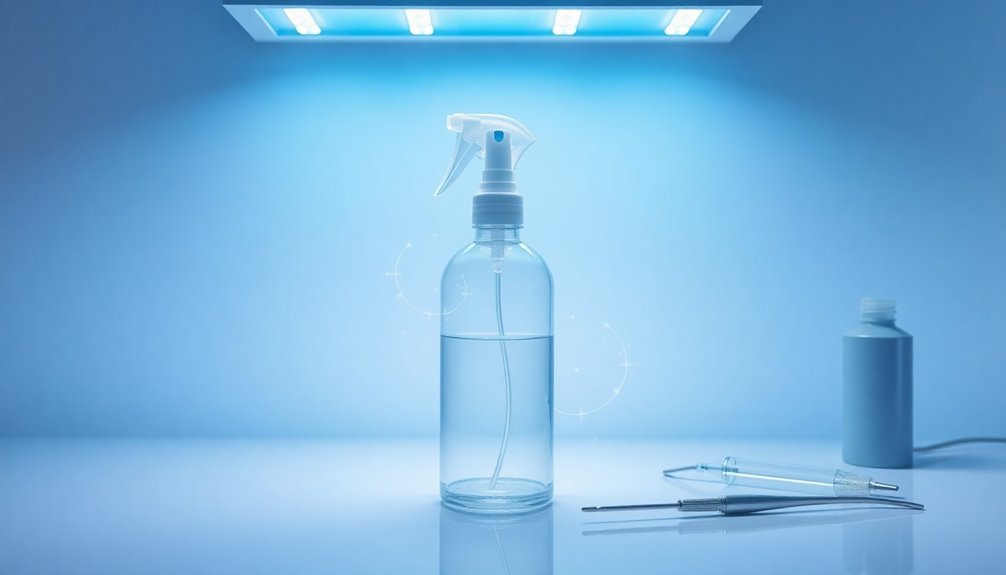
While heat sterilization offers proven reliability, UV light sterilization provides a gentler alternative for glass spray bottles. You'll need specialized UV lamps to effectively sterilize your bottles, as regular sunlight won't suffice. The process requires a few minutes of controlled exposure to achieve thorough sterilization.
| Feature | UV Light | Benefits |
|---|---|---|
| Process | Chemical-free | Safe for materials |
| Duration | Few minutes | Time-efficient |
| Equipment | UV lamp | Simple operation |
| Temperature | Room temp | No heat damage |
| Impact | Surface only | Preserves integrity |
For the best results, verify your bottles receive complete UV exposure from all angles. While this method might not match the effectiveness of heat-based approaches, it's particularly suitable for delicate glass spray bottles that can't withstand high temperatures. You'll also avoid any chemical residues that could affect your fragrances.
Proper Drying and Handling Procedures
Three key steps follow the sterilization process: drying, handling, and storage.
You'll want to air-dry your bottles on a clean cloth in a well-ventilated space, avoiding towel rubbing that could transfer germs.
Once dry, handle the bottles with clean hands or sterile tongs to maintain their sterility.
For ideal results, follow these essential handling procedures:
- Store bottles in a covered, clean area away from potential contaminants
- Check regularly for any signs of moisture or mold growth
- Fill bottles soon after sterilization while they're still hot to preserve sterility
Remember to sterilize caps separately and maintain a clean workspace throughout the process.
If you're using specialized equipment like drying racks, clean them regularly to prevent moisture buildup that could lead to contamination.
Safe Storage of Sterilized Bottles
Proper storage follows naturally from your sterilization and drying efforts. Keep your sterilized bottles in a cool, dry cupboard away from direct sunlight and heat sources.
Store sterilized bottles in cool, dry spaces away from light and heat to maintain their pristine condition after cleaning.
You'll want to avoid windowsills and bathroom areas where humidity and temperature fluctuations can compromise the bottles' cleanliness.
Store your bottles upright in their original packaging or dark containers to protect against UV damage. If you're using amber or cobalt blue glass bottles, you'll have extra protection against light degradation.
Don't transfer sterilized bottles to plastic containers, as they can react with future fragrance contents. Make sure your storage area maintains consistent temperature and humidity levels.
When you're not using the bottles, keep them sealed to prevent contamination and maintain their sterile condition.
Best Practices for Bottle Reassembly
You'll want to start with thoroughly washed hands to prevent contamination when handling your sterilized spray bottle components.
Make sure each piece is firmly connected, paying special attention to the gasket and pump mechanism for a proper seal.
Before filling with your fragrance, test the spray function with plain water to confirm the bottle operates smoothly and doesn't leak.
Clean Hands First Always
Before handling any components during bottle reassembly, thoroughly wash your hands with soap and water to maintain a sterile environment.
You'll want to guarantee your workspace is also clean and free from potential contaminants that could compromise your sterilization efforts.
When working with clean hands, you'll achieve better results by following these essential steps:
- Dry your hands completely with a clean towel before touching any bottle components to prevent moisture transfer.
- Inspect your hands for any cuts or open wounds that might need covering with clean gloves.
- Keep your hands away from other surfaces during assembly to maintain cleanliness.
Secure All Components Properly
The secure reassembly of spray bottle components requires careful attention to detail and a systematic approach.
Begin by confirming all parts are completely dry and free from cleaning residue. Check your gasket for wear and confirm it's compatible with your fragrance.
Test the pump mechanism before final assembly, making sure the spring has proper tension and the stem aligns correctly with the nozzle.
You'll want to verify that the valve operates smoothly and there aren't any air locks by pressing the actuator several times.
When putting everything together, follow a consistent tightening sequence, but don't over-tighten.
Align the cap carefully with the bottle's threads and confirm the nozzle is positioned correctly for proper dispensing.
Complete your reassembly with a final inspection to verify all components are secure and functioning properly.
Test Before Final Use
Testing your reassembled spray bottle properly can mean the difference between a reliable dispenser and potential contamination issues.
Before you fill your bottle with fragrance, conduct a thorough inspection to guarantee everything's working correctly and safely.
Test your bottle's functionality with these essential steps:
- Fill the bottle with plain water and spray several times to check for smooth operation, even misting, and no leaks around the nozzle or connections.
- Check that the trigger mechanism moves freely without sticking or requiring excessive force, indicating proper assembly of all internal components.
- Verify that all parts are completely dry and the bottle is crystal clear, with no water spots or residue that could affect your fragrance's purity.
If you notice any issues during testing, disassemble and address the problem before adding your fragrance.
Filling Your Sterilized Fragrance Bottles
Properly filling sterilized fragrance bottles requires careful attention to both technique and safety measures.
You'll need small funnels, pipettes, or syringes for precise filling to minimize spills and waste. Before pouring your fragrance, filter it through lab-grade paper to guarantee clarity and remove any impurities.
Use the meniscus method for accurate measurements, and make certain your bottles are completely cool after sterilization.
Precise measurements and proper bottle cooling are essential steps in achieving professional-quality fragrance filling results.
When attaching spray pumps, check that they're compatible with your fragrance and secure them firmly – crimped pumps offer the best seal but require special tools.
Once filled, gently shake each bottle to check for leaks. Store your filled bottles in a cool, dark place, and if you're planning to refill them later, thoroughly clean them between different fragrances to prevent contamination.
Frequently Asked Questions
How Long Can I Store Sterilized Bottles Before They Need Re-Sterilization?
You'll need to re-sterilize bottles after 72 hours if they're not in special storage containers. If you're using sterilizing devices with storage features, they can remain sterile for much longer periods.
Can I Sterilize Bottles That Previously Contained Essential Oils?
Yes, you can sterilize bottles that held essential oils. Use vinegar and water solution to remove oil residue first, then clean with soap and water. Follow up with alcohol sterilization for best results.
Is It Safe to Sterilize Antique or Decorative Perfume Bottles?
You'll need to be extra cautious with antique perfume bottles. Don't use heat sterilization, as it can damage delicate components. Instead, clean them gently with denatured alcohol and let them dry completely.
What Temperature Should the Water Be for Chemical Sterilization Methods?
For chemical sterilization, you'll typically use room temperature or cold water. You don't need hot water since the chemicals do the work, but always follow the specific product's instructions for ideal temperature requirements.
How Can I Tell if My Bottle Sterilization Was Successful?
You'll know your sterilization worked if your bottle's completely clear, free of odors, and sparkling clean. Check for any residue, run your finger inside to feel for smoothness, and confirm there's no lingering scent.
Leave a Reply