Start with certified organic flowers harvested at peak bloom and set up your distillation equipment with precision-sealed joints using rye flour paste. You'll want to maintain temperatures between 95-100°C while following precise water-to-flower ratios – typically 4:1 for fresh flowers. Control quality by monitoring pH levels (2.5-6.5) and store in dark glass at 10-13°C for maximum shelf life. Master these core techniques, and you'll reveal the full potential of professional hydrosol production.
Selecting Premium Flowers for Maximum Yield
When creating high-quality hydrosols, selecting the right flowers is vital to your success. You'll need to verify the botanical identity of your flowers – for example, if you're making rose hydrosol, make certain you're using Rosa centifolia.
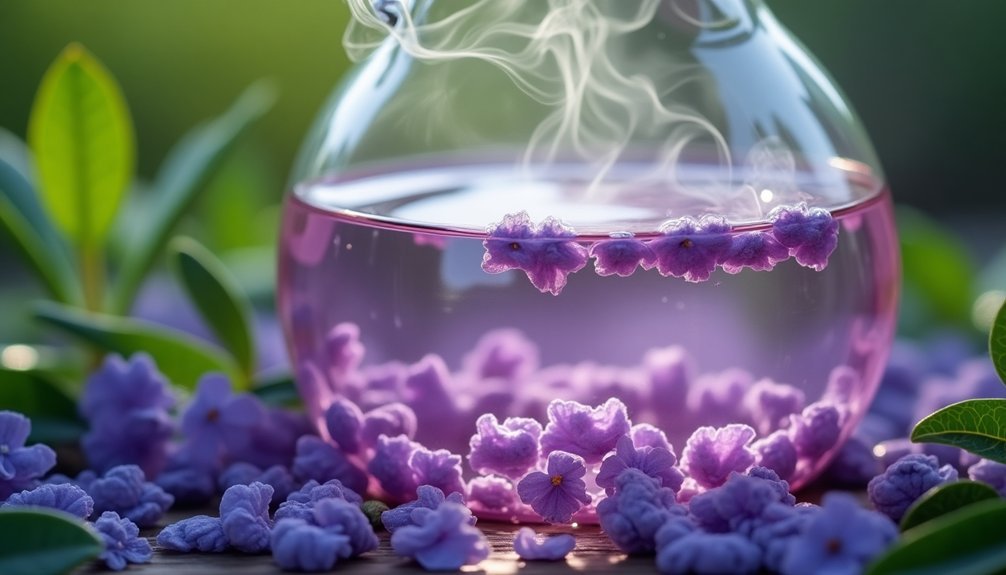
Choose certified organic flowers to avoid contaminants and assure superior quality. Source your flowers from regions renowned for their botanicals, such as Bulgarian roses. The resulting hydrosol will be strongly rose scented, providing an authentic garden-fresh aroma.
You'll want to harvest them when they're fully bloomed, considering both seasonal variations and ideal times of day, as these factors considerably impact the flower's chemical composition. Remember, weather conditions can alter the flowers' properties, so timing is key.
Always use fresh petals and clean them gently before distillation. For certain plants, you might need to cut and macerate them for up to 48 hours to enhance the distillation process.
Setting Up Your Distillation Equipment Like a Pro
You'll want to start by thoroughly cleaning all connection points on your distillation equipment, as even minor contamination can affect your hydrosol's purity.
When placing your equipment, make certain your heating source is stable and your condenser is positioned at the correct angle for ideal flow into your collection vessel.
Your setup's success depends on proper spacing between components, allowing for easy monitoring and adjustment during the distillation process.
For reliable sealing, apply rye flour paste to all joints and connection points before beginning the heating process.
Clean Connections Matter Most
Professional distillation setups depend heavily on clean, secure connections between components to guarantee ideal results.
You'll need to focus on properly sealing all joints using rye flour paste or Teflon tape to prevent any steam from escaping. Test these seals thoroughly before beginning your distillation process.
Your condenser system's connections are particularly essential. Make sure you've properly attached the hoses, with the lower one connected to your pump.
You'll want to maintain these connections regularly, checking for any wear or damage that could compromise your distillation. Keep all connection points clean and free from debris or buildup that might affect performance.
When you spot any deterioration in seals or connections, replace them immediately – don't wait for a failure that could ruin your entire batch. Copper stills have remained the preferred equipment choice since medieval times due to their superior conductivity and durability.
Essential Equipment Placement Guide
The success of your hydrosol distillation largely depends on precise equipment placement. Start by positioning your large pot on a stable heat source, then place an inverted glass bowl inside it.
Arrange your plant material around the bowl and cover it with filtered water. You'll need to secure your condenser properly, connecting the lower hose to your cooling system or pump.
Make sure you've got proper water circulation to maintain effective cooling. Place a collecting bowl right-side-up on the inverted bowl to catch your hydrosol, and secure the pot lid upside down.
Don't forget to check all your connections for proper sealing – use rye flour paste or Teflon tape if needed. Position your separatory funnel or collecting jar where it can easily catch the final product.
The Perfect Water-to-Flower Ratio Secret
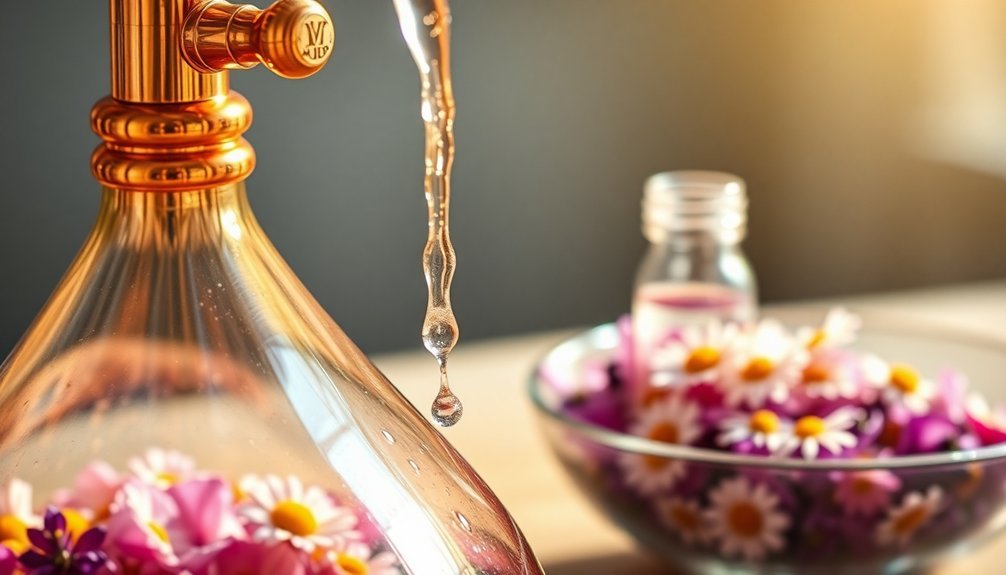
Understanding the perfect water-to-flower ratio is essential for successful hydrosol distillation. You'll need to balance your water and plant material carefully based on your equipment size. For a 5-liter kit, use 0.5 kg of flowers with 2 liters of water, while a 9-liter column requires 6 liters of water for best results.
| Equipment Size | Water Amount | Plant Material |
|---|---|---|
| 2L Column | 2L | 0.5kg |
| 5L Kit | 2-3L | 0.5-1kg |
| 9L Column | 6L | 2kg |
| Large Still | Half Capacity | Half Capacity |
Remember to use quality water – spring water is ideal, but filtered tap water works too. Don't completely submerge your plant material; instead, allow it to move freely in the water. If you're using dried flowers, you may need to adjust the quantity due to their concentrated nature.
Temperature Control Mastery
When distilling hydrosols, you'll need to maintain temperatures near 100°C while carefully watching your thermometer on the onion cap.
You'll know you've hit the sweet spot when the hydrosol emerges in gentle spurts rather than a rapid stream, indicating proper steam flow.
Controlling your heat source with precision, starting at medium and adjusting down as needed, will help you preserve the plant's fragile aromatic compounds throughout the 2-5 hour process.
Optimal Heat Range Settings
Maintaining precise temperature control represents one of the most critical aspects of successful hydrosol distillation. You'll need to keep your temperatures between 80°C to 100°C (176°F to 212°F), with 95°C (203°F) being the sweet spot for ideal results. Never let your still exceed 105°C (221°F), as this can damage your equipment and compromise your hydrosol quality.
| Temperature Point | Celsius | Fahrenheit |
|---|---|---|
| Minimum Range | 80°C | 176°F |
| Ideal Setting | 95°C | 203°F |
| Maximum Limit | 105°C | 221°F |
Monitor your still's temperature using a mounted thermometer and start with medium heat. You'll want to reduce heat as needed to maintain a steady, gentle distillation process. This slower approach preserves those delicate aromatic molecules, ensuring your final product maintains its therapeutic properties.
Steam Flow Speed Control
Successful hydrosol distillation depends heavily on your ability to control steam flow speed through precise temperature adjustments. You'll want to maintain a slow, steady drip over several hours for ideal results.
A propane burner gives you the finest control over your distillation speed. You can quickly adjust the heat intensity to respond to changes in the process, such as biomass channeling or material collapse.
Watch for signs that you need to modify the steam flow – if it's too fast, you'll risk damaging the hydrosol; too slow, and you won't extract efficiently.
Keep monitoring your setup throughout the process. If you notice any steam leaks, seal them with rye flour paste to maintain consistent flow.
Timing Your Distillation Process
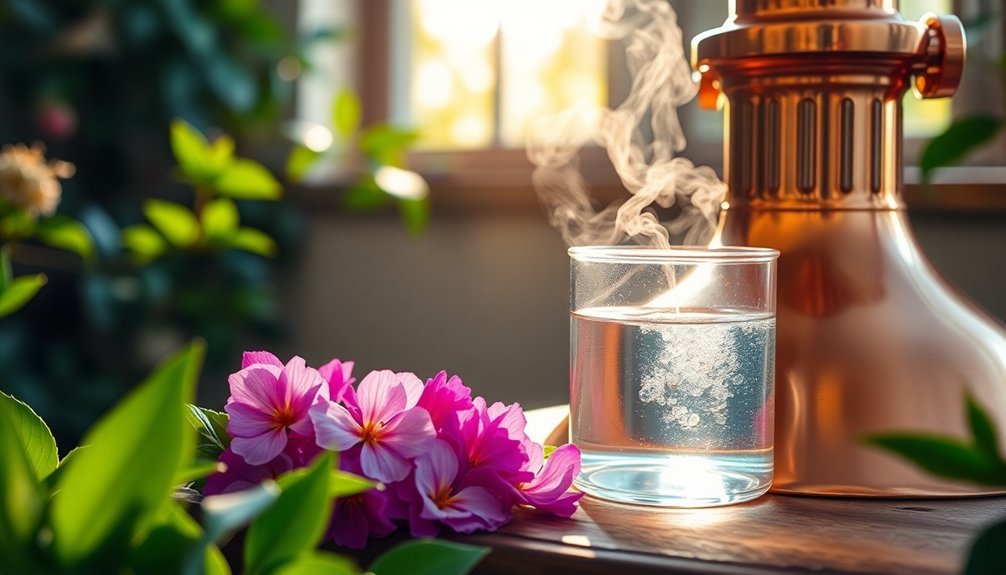
The timing of hydrosol distillation plays an essential role in producing high-quality results. You'll want to harvest most plants either just before or during flowering, though there are exceptions like conifers, which you can harvest in winter months.
Choose a warm, dry day for your distillation, and avoid working with wet plant material. If it's rained recently, wait until your herbs or flowers have dried completely.
You'll need to set aside a full day for the process, as distillation typically takes 2-5 hours, not including preparation time.
Monitor your temperature carefully during distillation – you'll see hydrosol begin flowing at around 100°C. While higher temperatures speed up the process, they can damage delicate aromatic molecules, so maintain a moderate heat level for ideal results.
Quality Testing Your Fresh Hydrosol
Once your hydrosol has been distilled, proper quality testing guarantees its purity and potency. Start by checking the pH level, which should fall between 2.5 and 6.5, depending on your plant material. Regular pH monitoring helps detect any contamination or quality issues early.
You'll want to submit your hydrosol for GC/MS testing, which provides a detailed analysis of its components and identifies any adulterants. This specialized testing uses equipment specifically calibrated for hydrosols, not essential oils.
While waiting for lab results, conduct sensory evaluations of your product's aroma, color, and texture for any abnormalities.
Store your hydrosol in a cool, dark place for 6-12 months to allow proper settling and integration. Keep the storage container airtight and continue monitoring pH levels throughout this aging period.
Professional Storage Techniques for Longer Shelf Life
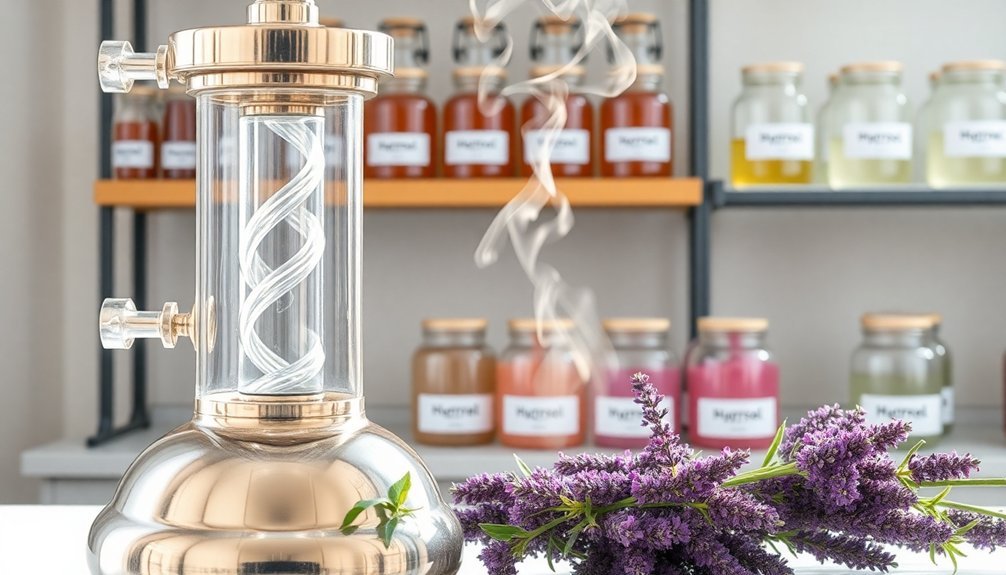
Professional hydrosol storage builds upon proper quality testing to maximize longevity and maintain potency. You'll need to store your hydrosols in a cool, dark place at 10-13 degrees Celsius, away from UV rays and direct sunlight.
To extend shelf life, minimize air exposure by transferring your hydrosol into smaller, opaque glass bottles. This reduces headspace and limits oxidation each time you open the container.
Keep a working bottle separate from your stock to prevent frequent opening of the main supply.
If you're seeking extended preservation, you can add 1% Linatural or 2% high-proof vodka, though this may affect organic certification.
Monitor your stored hydrosols regularly for changes in aroma or appearance. When properly stored, unopened hydrosols last 12-24 months, while opened ones remain viable for 6-12 months.
Frequently Asked Questions
Can I Reuse the Same Plant Material for Multiple Distillation Batches?
You shouldn't reuse plant material for multiple distillations. The first batch extracts most volatile compounds, and subsequent batches will produce lower quality hydrosol with reduced potency and fewer beneficial properties.
Why Does My Hydrosol Smell Different From Commercial Versions?
Your hydrosol smells different because of variations in distillation methods, plant material quality, and maturation time. Commercial producers often use standardized processes, while your batch may have unique conditions affecting its aroma profile.
How Do I Clean Stubborn Residue From Copper Still Components?
You'll need to start with a baking soda wash for organic residue, followed by a citric acid solution for scaling. Don't use abrasives; instead, try the 5-5-1 method with hydrogen peroxide for stubborn spots.
Does Altitude Affect Distillation Temperature and Process Timing?
Yes, altitude greatly affects your distillation process. You'll need lower temperatures at higher elevations due to reduced atmospheric pressure. Your boiling points will decrease, and you'll need to adjust your timing accordingly.
Can I Blend Different Flowers in One Distillation Batch?
Yes, you can blend different flowers in one batch, but you'll need to make sure they're compatible regarding fragrance and oil content. Be careful to distribute them evenly and avoid overloading your still.
In Summary
You'll get professional-quality hydrosols consistently by following these seven essential practices. Remember to select fresh, premium flowers, maintain precise temperature control, and use the correct water ratios. Don't skip the quality testing phase – it's vital for ensuring your final product meets standards. Store your hydrosols properly in dark glass bottles, and you'll have fragrant, therapeutic-grade hydrosols ready for use in your aromatherapy projects.


Leave a Reply