Professional perfumers typically use a 10% dilution rate for ideal fragrance concentration, but you'll need to adjust based on your specific application. For body products, stick to 1-2% for daily use and safety, while facial products shouldn't exceed 1%. You'll want to measure precisely using a digital scale and proper glass equipment, and always perform patch tests first. There's much more to master about creating the perfect blend, from equipment selection to maturation times.
Understanding Basic Dilution Percentages

When working with perfumes and essential oils, understanding proper dilution percentages is crucial for both safety and effectiveness.
While perfumes typically use a 10% dilution rate, you shouldn't apply this concentration all over your skin. Instead, stick to lower dilutions for body applications.
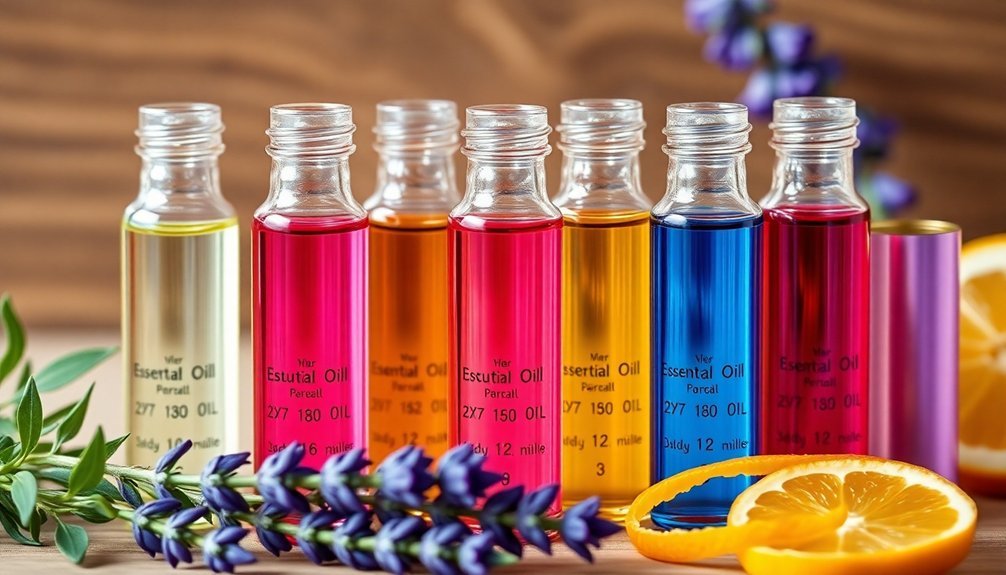
For daily use and full-body products, you'll want to use a 1% dilution, which means adding 3 drops of essential oil to 2 teaspoons of carrier oil.
If you're creating rinse-off products, you can increase to 3%. For facial applications, don't exceed 1% to protect your sensitive skin. A toxicologist on staff helps establish these safe dilution guidelines.
Remember that essential oils should never be used undiluted, and you'll need to be especially careful with children – they require much lower concentrations, starting at just 0.25% for those under two years old.
Essential Equipment for Accurate Dilution
You'll need precise digital scales to measure your raw materials and solvents accurately, as even small variations can greatly affect your final perfume composition.
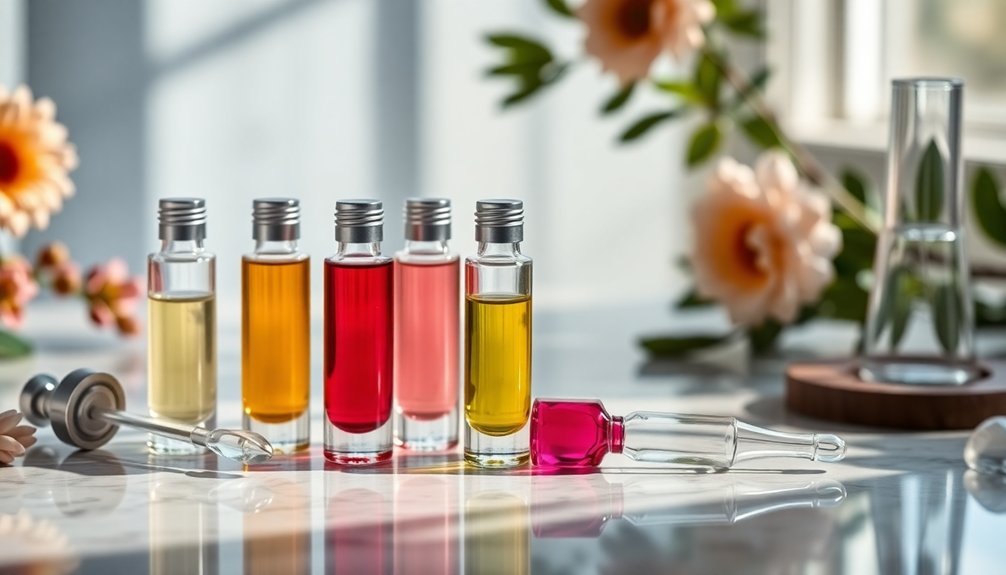
Glass beakers, pipettes, and storage bottles are essential to maintain the purity of your dilutions and prevent contamination from plastic materials.
Mixing tools like glass stirring rods and magnetic stirrers guarantee thorough blending of your ingredients, while helping you achieve consistent results in your perfume formulations. Always keep protective gloves nearby to prevent skin contact with concentrated materials during the dilution process.
Precision Weighing Scales Required
Because perfumery requires exact measurements for consistent results, a precision weighing scale is the most essential piece of equipment you'll need for creating dilutions.
You'll want a digital scale that measures down to 0.01g, as volume measurements and drops aren't reliable enough for professional perfumery.
When selecting your scale, make sure it has adequate weight capacity while maintaining high precision. You'll need to pair it with other tools like pipettes for liquid transfers and spatulas for handling solids.
Using a glass protected scale will help minimize measurement errors from environmental factors like evaporation and airflow.
Don't forget to calibrate your scale before each use and keep it clean from residues.
For experimental work, start with a 10-gram scale to minimize errors.
Remember to wear protective gear when handling materials, and always record your measurements in a notebook or app for future reference.
Glass Storage Solutions
Proper storage containers are the next key component in your perfumery toolkit. You'll need high-quality glass bottles for storing your dilutions and blends. Glass is ideal because it won't react with essential oils or compromise their composition, unlike plastic containers that can break down over time.
Choose dark-colored glass bottles to protect your oils from UV light damage, which helps maintain their potency and extends shelf life. You can even enhance protection by painting clear bottles with acrylic paint and sealing them with clear enamel. Your bottles should have airtight seals to preserve freshness.
Glass containers are also eco-friendly, BPA-free, and easy to clean. They're perfect for organizing different blends, as you can select various colors for quick identification.
While glass requires careful handling, it's your best choice for long-term storage.
Essential Mixing Tools
When starting on perfume dilution, having the right mixing tools guarantees both precision and safety in your work.
You'll need precise digital scales to measure your raw materials and solvents accurately. For transferring ingredients, equip yourself with glass pipettes and metal spatulas to handle both liquids and solids properly.
Don't forget essential safety gear – you must wear protective gloves, safety glasses, and a mask when working with aromatic chemicals. A lab coat or apron will protect your clothing from spills.
Keep your workspace organized with proper labeling tools, including adhesive labels for your bottles and a notebook to record your formulations. For testing your creations, you'll want scent strips and sample vials.
Having spreadsheets and calculators handy will help you manage precise dilution calculations and conversions.
Step-by-Step Dilution Calculations
To master perfume dilutions, you'll need to understand the basic formula: desired concentration equals weight of raw material divided by total solution weight, multiplied by 100.
You can easily calculate the amount of raw material needed by working backward – for example, to make 100g of a 10% solution, you'll use 10g of raw material and 90g of your diluting agent.
When working with weight-to-volume ratios, remember that 1ml of DPG weighs approximately 1.023g, which helps you maintain precision when converting between measurement types.
Basic Dilution Math Formulas
Understanding dilution calculations forms the foundation of successful perfume making.
You'll need to master two essential formulas for your perfumery work. First, to find the amount of concentrate needed, multiply your desired total weight by the concentration percentage. For example, if you're making 120g of fragrance at 20% concentration, you'll need 24g of concentrate (120 x 0.2).
For parts per thousand calculations, use the formula: ppt = (constituent weight / total weight) x 1000.
When working with pre-diluted materials, adjust your calculations based on the starting concentration. If you're diluting a 50% solution to 20%, use 2g of the 50% solution and add 3g of solvent. This gives you 5g of a 20% solution.
Always double-check your math to guarantee accurate concentrations.
Weight-to-Volume Ratio Examples
Making accurate perfume dilutions requires mastering weight-to-volume conversions through practical examples.
When you're working with a 100% concentration, you'll need to follow specific ratios to achieve your desired dilution. For a 50% solution, combine equal parts of raw material and diluent – for instance, 1 gram of fragrance with 1 gram of perfumer's alcohol.
To create a 20% dilution, mix 1 gram of raw material with 4 grams of diluent. For 10% strength, use 1 gram of fragrance with 9 grams of diluent. If you need a 1% solution, combine 1 gram of raw material with 99 grams of diluent.
Always use a precise scale and remember that weight-based measurements are more accurate than volume-based ones.
Common Dilution Ratios for Different Materials

When working with perfume materials, different ingredients require specific dilution ratios to guarantee safety and ideal blending. Most aroma chemicals work well at 10% dilution, while some potent materials like Ethyl Vanillin and Synthetic Civet need lower concentrations of 1% or even 0.1%.
For essential oils and absolutes, you'll need to follow these key guidelines:
- Keep essential oils at or below 10% dilution for safety.
- Dilute absolutes like Benzoin to 50% first, then to 20% as needed.
- Use weight-to-weight measurements for precise dilution ratios.
Your final perfume concentration depends heavily on these initial dilutions.
If you're aiming for higher concentrations in your finished product, it's best to keep materials as undiluted as possible while still maintaining safe working levels.
Safety Guidelines and Best Practices
Safe perfume creation requires strict adherence to established guidelines and best practices. You'll need to dilute essential oils properly, typically using between 0.5% to 2% concentration in your carrier base.
Never apply undiluted oils directly to your skin, as this can cause irritation or sensitization. Before using any new essential oil, conduct a patch test and research its specific properties. Some oils, especially citrus ones, can increase sun sensitivity.
You'll want to use accurate measurement tools, like scales, rather than relying on drop counts. Always mix oils with appropriate carriers like perfumer's alcohol or fractionated coconut oil, never water alone.
If you're working with sensitive populations or have specific health conditions, consult a professional aromatherapist for guidance on safe usage rates and potential contraindications.
Maturation and Storage Requirements

After carefully creating your perfume blend, proper maturation and storage will determine its final quality and longevity.
You'll need to let your creation mature for at least 48 hours, though 7-14 days is ideal for peak perfection. Store your blend in a dark, cool place during this period, checking periodically to verify it's developing as desired.
For best storage and preservation, follow these essential steps:
- Transfer your perfume into dark amber bottles with chemical-resistant caps to protect against light damage and prevent leakage.
- Keep bottles in a cool, dry place away from direct sunlight and humidity to maintain scent integrity.
- Confirm caps are tightly sealed to prevent evaporation and oxidation, which can alter your perfume's composition.
Remember to shake the bottle well before each use to maintain a consistent blend of ingredients.
Professional Tips for Consistent Results
To achieve professional-grade perfumes consistently, you'll need to master proper dilution techniques and measurement precision.
Start by using a reliable scale instead of counting drops, as weight measurements provide the most accurate results.
Remember that most materials work best at 10% dilution for perfumery, while potent ingredients like Ethyl Vanillin require 1% dilution.
Select your solvent carefully – perfumer's alcohol is ideal for evaluating scents, while DPG serves as an alternative for specific applications.
Don't use carrier oils for perfume evaluation, as they'll mask the true odor profile.
When calculating dilutions, always work in grams and use conversion charts when needed.
Before applying any new blend, conduct a patch test to guarantee safety, especially when working with essential oils that require specific dilution ratios for skincare applications.
Frequently Asked Questions
How Long Should I Wait Before Filtering My Diluted Perfume Mixture?
You can filter your diluted perfume right away, but it's best to let it settle for a few hours or overnight. If you're making complex blends, consider waiting up to a week before filtering.
Can I Reuse Bottles That Previously Contained Different Perfume Materials?
You shouldn't reuse bottles that held different perfumes, as plastic parts retain scents and can contaminate new fragrances. If you must reuse, stick to thoroughly cleaned glass bottles without plastic components.
What Temperature Should I Maintain During the Dilution Process?
You'll need to maintain a temperature below 5°C during dilution. This helps prevent excessive evaporation and preserves your fragrance. Keep the mixture cool while adding ethyl alcohol to the concentrate.
Does the Color of the Diluted Mixture Affect Its Quality?
No, the color of your diluted mixture doesn't affect its quality. While natural ingredients can create varying colors, they're purely aesthetic changes. You'll find that fragrance potency remains the same regardless of color.
How Can I Test if My Perfume Material Has Expired?
You can check your perfume's expiration by looking for color changes, sour or metallic smells, and skin reactions after application. Also, check the batch code and PAO number on the bottle.
In Summary
Now you're equipped with all the essential knowledge about perfume dilution rates. Whether you're working with essential oils or fragrance compounds, you'll be able to calculate, measure, and create perfectly balanced formulations. Remember to always prioritize safety, use proper equipment, and allow adequate maturation time. With practice and attention to detail, you'll master the art of precise perfume dilution.


Leave a Reply