Put on protective gear (gloves, safety glasses) and work in a well-ventilated area. Start by disassembling your spray bottle and inspecting for damage. Soak all parts in warm, soapy water, then use cotton swabs to clean tight spaces. For stubborn residues, try a vinegar solution or isopropyl alcohol. After thorough rinsing, dry completely before reassembly. To guarantee your perfumes stay pristine, proper cleaning and testing are just the beginning of the process.
Safety First: Essential Precautions Before Cleaning
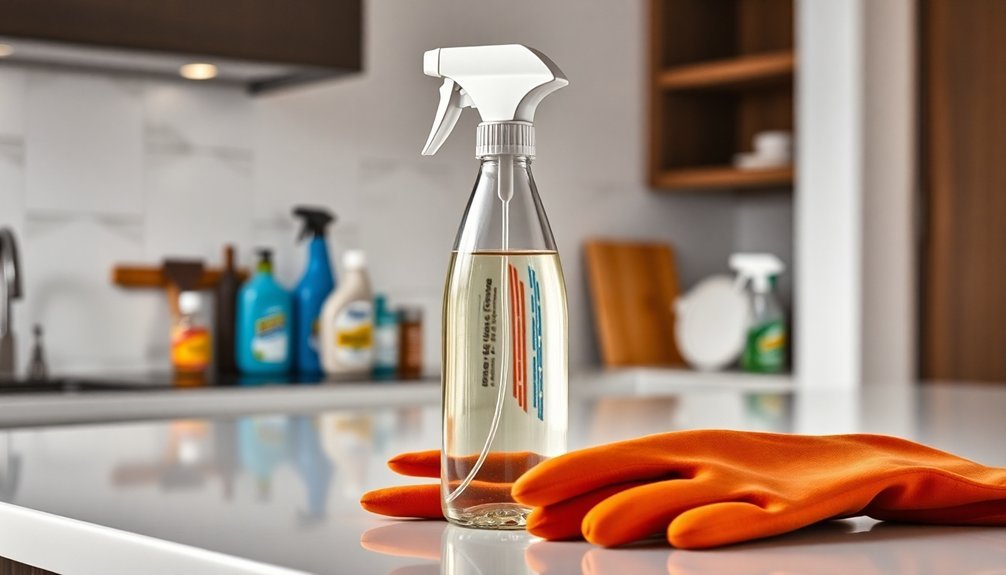
Before handling any chemicals or cleaning solutions for perfume spray bottles, you'll need proper protective equipment to confirm your safety.
Put on rubber or nitrile gloves, safety glasses, long sleeves, pants, and closed-toe shoes to protect against splashes. If you're working with strong chemicals, wear a mask or respirator.
Set up your workspace in a well-ventilated area by opening windows and using fans.
Keep your cleaning station away from living spaces and restrict access to children and pets. Clear the area of any clutter that could cause accidents.
Have a first aid kit and emergency contacts nearby, including the local poison control center's number. Keep water accessible for flushing in case of spills, and confirm you have a clear path to exits.
Properly cleaning your spray bottles helps prevent harmful chemical contamination when adding new contents.
Thorough Bottle Assessment and Disassembly
Before handling any perfume bottle components, you'll need to carefully inspect the materials and guarantee all safety measures are in place.
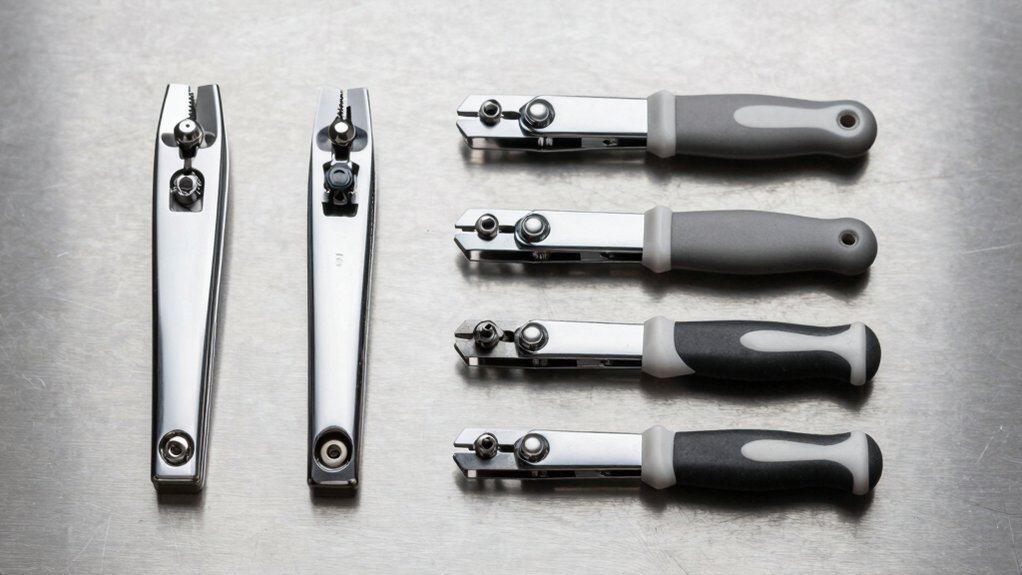
The spray bottle's key parts, including the pump mechanism, nozzle, and gaskets, require detailed examination to confirm they're suitable for your perfume formula. Having a flat head screwdriver readily available will help with any necessary disassembly work.
Once you've verified the bottle's condition, you can start the systematic disassembly process by removing the pump assembly, followed by the nozzle, trigger, and inlet straw.
Initial Safety Check Guidelines
Keeping your spray bottles safe and functional requires a methodical safety assessment. Before handling any fragrance or chemical, you'll need to carefully examine your bottle for cracks, chips, or damage that could lead to leaks.
Remember that all containers must be properly labeled when not in immediate use to ensure safety and compliance. Don't forget to test the spray nozzle's functionality and guarantee it's securely attached.
You'll want to verify that your bottle's material is appropriate for your intended fragrance – glass is typically ideal for perfumes. Check that all labels accurately reflect what's inside to prevent any mix-ups.
If you're working with chemicals, make sure you're following local storage and handling regulations. Always wear protective gloves when necessary and work in a well-ventilated area to avoid inhaling fumes.
Keep your workspace clear and all materials stored safely away from children and pets.
Key Bottle Parts Guide
A spray bottle's anatomy consists of several vital components that work together to deliver your fragrance effectively.
You'll need to familiarize yourself with the liquid container, trigger mechanism, and nozzle assembly before starting your perfume project.
Start by examining the bottle's main container, which should be made of glass for ideal fragrance preservation.
Check the dip tube to verify it's intact and reaches the bottom of the container.
Next, inspect the trigger and pump mechanism – these parts create the pressure needed to dispense your perfume.
The nozzle determines how your fragrance will spray, so make sure it's clean and functional.
Don't forget to check all gaskets and seals, as they're essential for preventing leaks and maintaining proper pressure during use.
Disassembly Step-by-Step Process
To properly prepare your spray bottle for perfume, you'll need to carefully disassemble and assess each component. Start by unscrewing or pulling off the nozzle, being mindful of small parts like springs or triggers that might come loose.
Check the sprayer mechanism for proper alignment and any signs of clogging.
- Examine the straw for blockages, and flush it with warm water to remove any debris.
- Use a flathead screwdriver carefully if you need to separate tightly fitted components.
- Look for reduced spray pressure or irregular patterns that indicate potential clogs.
Keep track of all small components during disassembly, especially springs and ball bearings, as they're essential for proper function.
Test the mechanism's movement before proceeding with cleaning to identify any mechanical issues that need addressing.
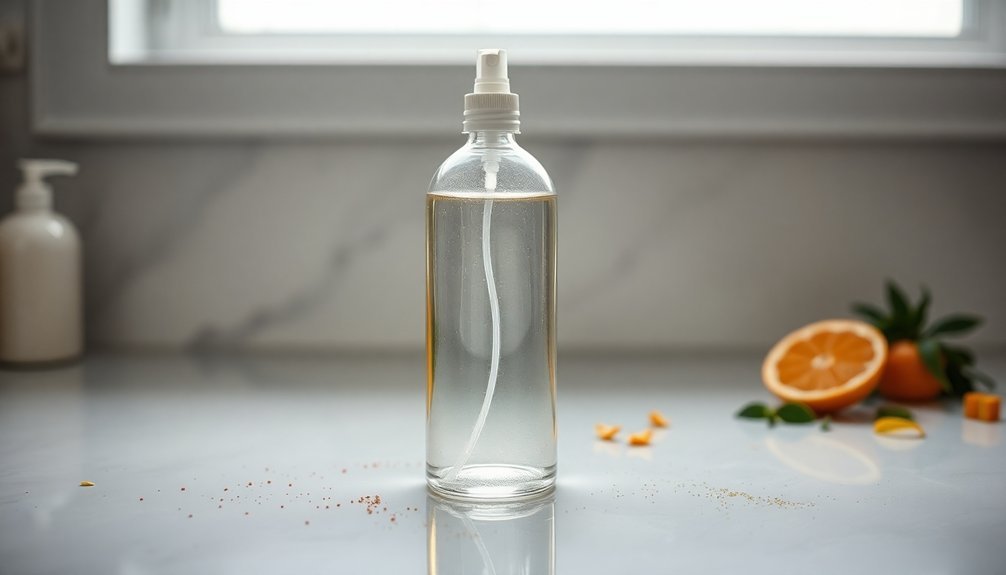
Deep Cleaning and Sterilization Methods
Proper sterilization guarantees your spray bottle won't contaminate new perfumes with old residues or bacteria.
Clean perfume bottles prevent contamination, ensuring your favorite fragrances stay pure and untainted by unwanted elements.
Start by soaking all disassembled parts in warm, soapy water using gentle dishwashing liquid. Use cotton swabs to reach tight spaces and threading areas where residue often hides.
For non-plastic components, you can sterilize using boiling water or steam. However, keep plastic parts away from high heat to prevent warping. Instead, use sterilizing tablets for these pieces.
Once cleaned, rinse everything thoroughly to remove all soap traces. You'll need to dry each component completely to prevent any bacterial growth.
Before reassembly, flush the spray mechanism with clean water or air to clear out moisture. Don't forget to perform a final inspection to ascertain everything's properly cleaned and functioning.
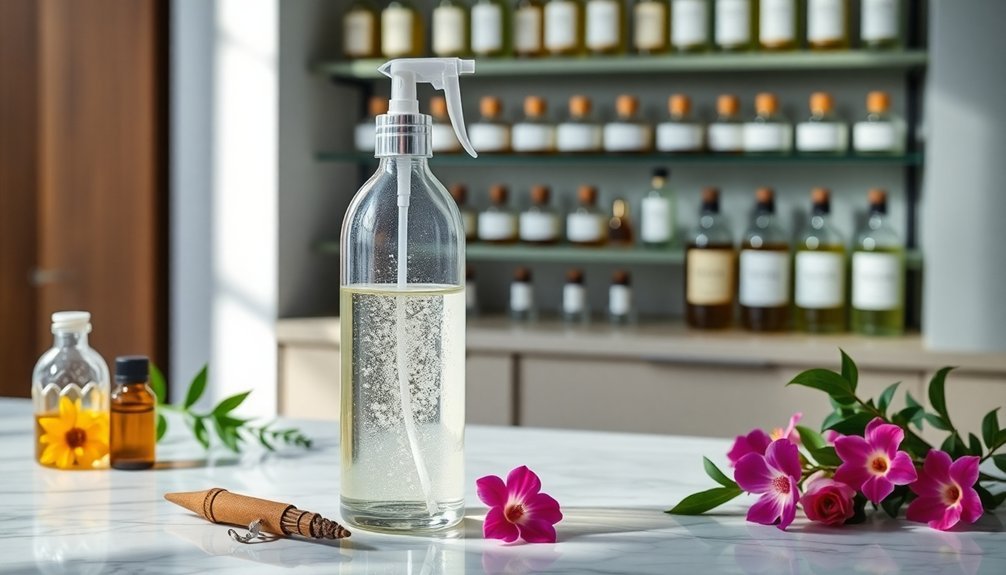
Removing Stubborn Residues and Odors
You'll want to start with a thorough vinegar solution soak to break down any stubborn residues that might affect your perfume's scent.
For particularly persistent odors, create a paste using baking soda and water, applying it to all bottle components and letting it sit overnight.
After cleaning, verify every part is completely dry before use, as trapped moisture can lead to unwanted odors and affect your perfume's integrity.
Deep Cleaning Methods
When dealing with stubborn perfume residues and lingering scents, deep cleaning your spray bottles requires specific methods and solutions.
You'll find that a mixture of white vinegar and warm water works effectively to break down old perfume residues. For enhanced cleaning power, add uncooked rice and mild dish soap to help dislodge stubborn buildup.
- Disassemble the spray bottle completely to access all components, including the dip tube and actuator.
- Soak all parts in your cleaning solution for one hour, guaranteeing thorough coverage.
- Use boiling water as a final rinse to sterilize and remove any remaining traces.
Don't forget to dry each component thoroughly before reassembly.
This careful attention to the cleaning process will guarantee your spray bottle is perfectly prepped for your new perfume.
Neutralizing Lingering Scents
Lingering scents from previous perfumes can pose a significant challenge when repurposing spray bottles.
You'll need to tackle these stubborn fragrances using both natural and commercial methods. Start with a vinegar and baking soda solution, which effectively neutralizes many odors. For tougher scents, try isopropyl alcohol as it breaks down fragrance compounds due to its solvent properties.
If natural methods aren't enough, use specialized odor-removing sprays like Neutra-Scent, which encapsulates and eliminates fragrance molecules.
You can also try activated charcoal or coffee grounds, as they're excellent at absorbing persistent odors. For maximum effectiveness, combine these treatments with proper ventilation – keep the bottle in a well-aired space or use a fan to help disperse any remaining scent molecules.
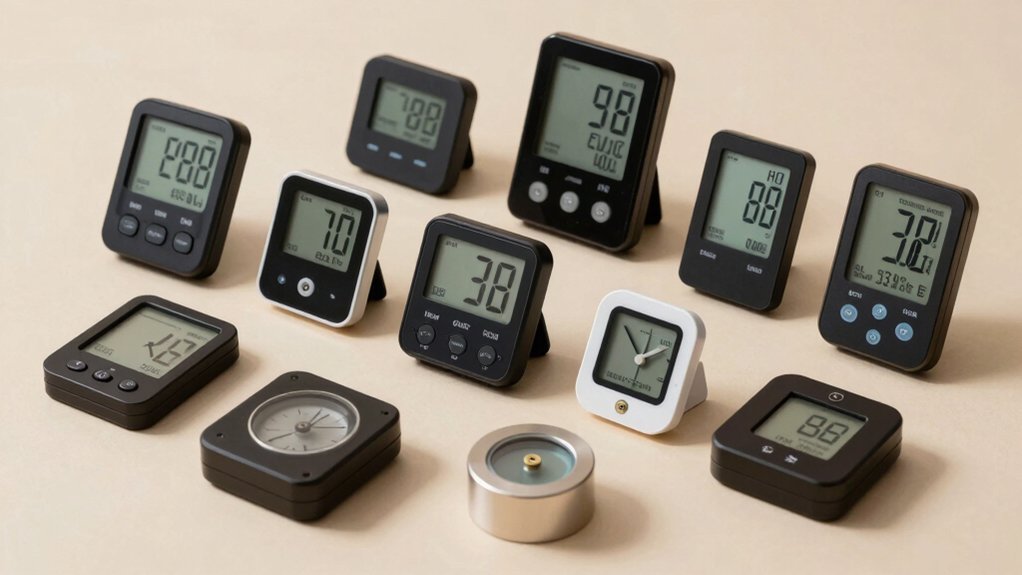
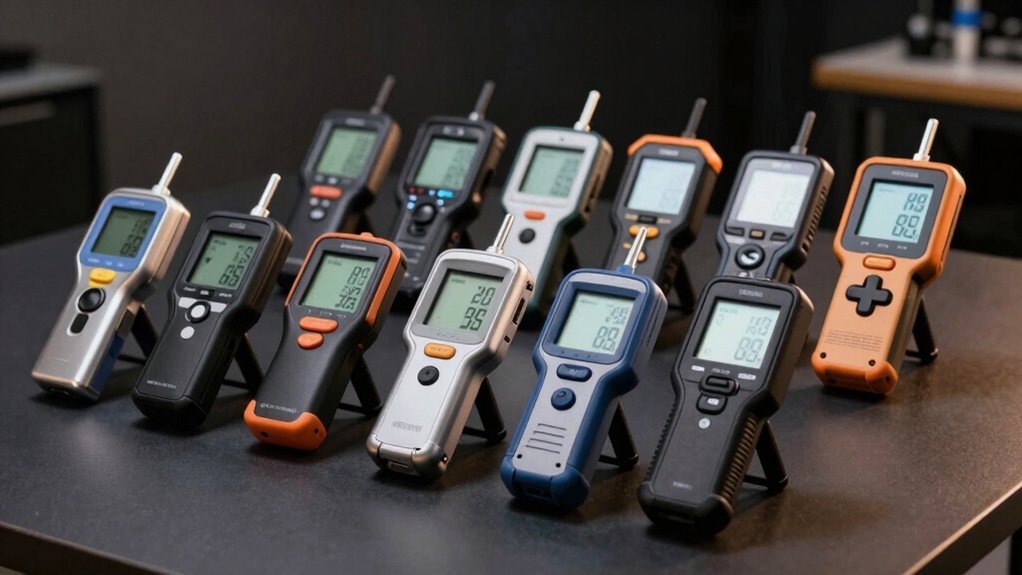
Testing and Quality Assurance Steps
Before perfume spray bottles reach store shelves, they must undergo rigorous testing and quality assurance procedures to confirm safety, functionality, and durability.
You'll find inspectors using specialized equipment like seal testers and vernier calipers to measure precise dimensions and assess bottle integrity.
Key testing procedures include:
- Leakage tests performed underwater to verify cap and valve seals
- Spray pattern evaluations to confirm consistent atomization
- Thermal shock assessments to test temperature resilience
Professional inspectors need extensive training and sharp attention to detail.
They'll check for visual imperfections under various lighting conditions, verify weight consistency, and conduct chemical resistance tests.
Each bottle must meet strict industry standards before it's approved for perfume filling, confirming you receive a product that's safe, reliable, and perfect for your fragrance.
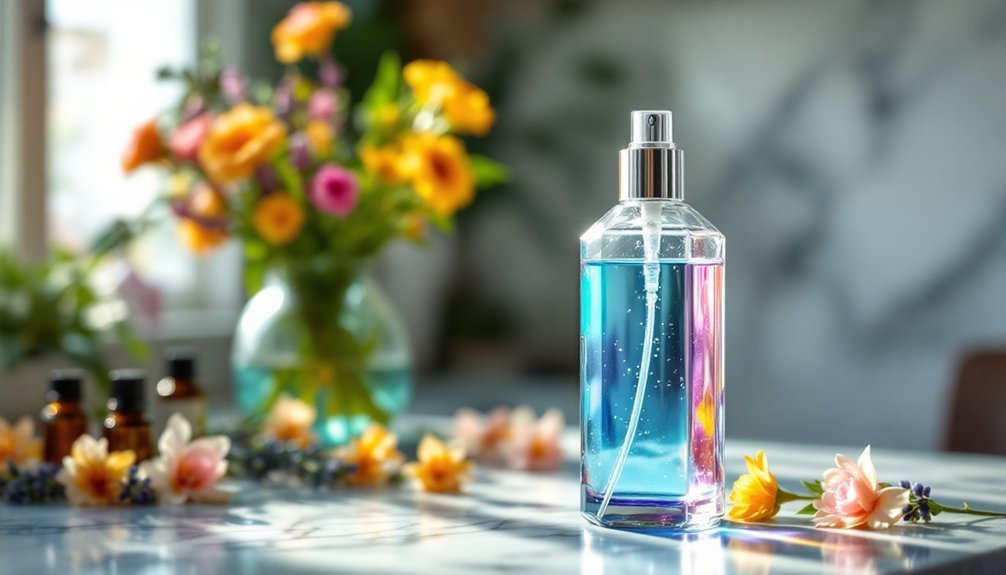
Best Practices for Storage and Longevity
To preserve your perfume's delicate composition and maintain its intended fragrance, proper storage practices are vital.
Store your bottles in a cool, dark place away from direct sunlight and humidity. Your bathroom isn't an ideal location due to temperature fluctuations and moisture.
Keep your perfumes in their original packaging and verify bottles are tightly sealed after each use.
Don't shake the containers unnecessarily, as this can introduce air and break down the fragrance molecules. If you're planning long-term storage, consider using airtight containers in a temperature-controlled environment.
For daily use, opt for smaller bottles to minimize exposure to air.
Check your perfumes regularly for any signs of discoloration or altered scents.
When possible, use your fragrances before their expiration date to enjoy them at their best quality.
Frequently Asked Questions
Can I Reuse Spray Bottles That Previously Contained Hair Products?
You can reuse hair product spray bottles if you thoroughly clean them with hot soapy water, sterilize all parts, and make certain they're completely dry. Just check for damage and remove all residue first.
How Long Should I Wait Between Cleaning and Filling With Perfume?
You don't need to wait long after cleaning. Once your bottle is completely dry inside (typically 1-2 hours), you can refill it. Just make sure there's no moisture left to avoid diluting your perfume.
Which Types of Plastic Spray Bottles Work Best for Perfumes?
You'll get the best results with Boston Round bottles made from PET or PETE plastic. They're durable, won't react with perfume oils, and come with fine mist sprayers for excellent fragrance distribution.
Will Perfume React Differently in Glass Versus Plastic Spray Bottles?
Yes, your perfume will react differently. In plastic, it can degrade and change scent due to chemical reactions. Glass won't react with your fragrance, keeping it pure and preserving its original qualities longer.
How Many Times Can I Safely Reuse the Same Spray Bottle?
You can safely reuse a spray bottle 8-10 times if you're cleaning it thoroughly between uses. However, watch for signs of wear like leaks, stuck sprayers, or damaged gaskets to determine when it's time to replace.
Leave a Reply