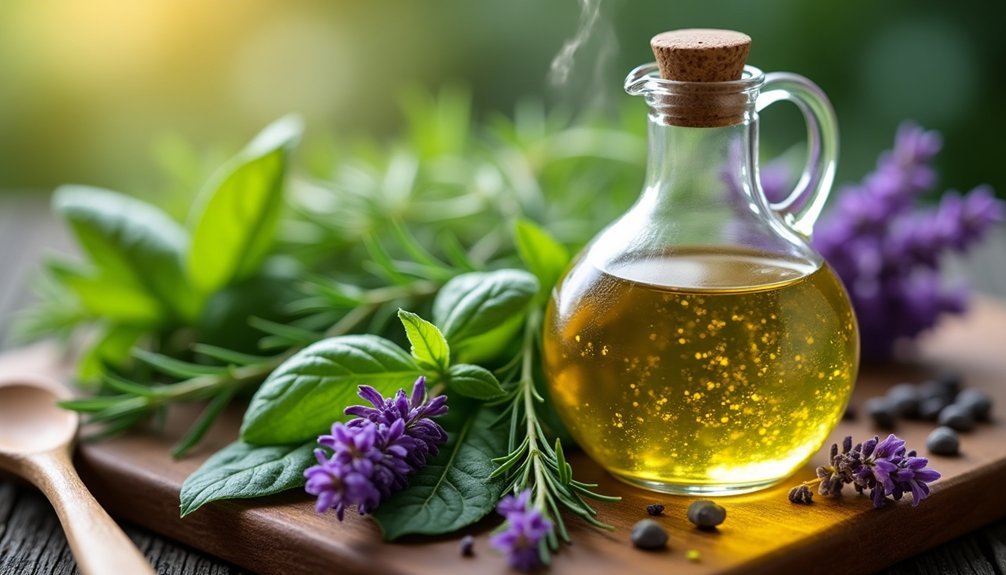
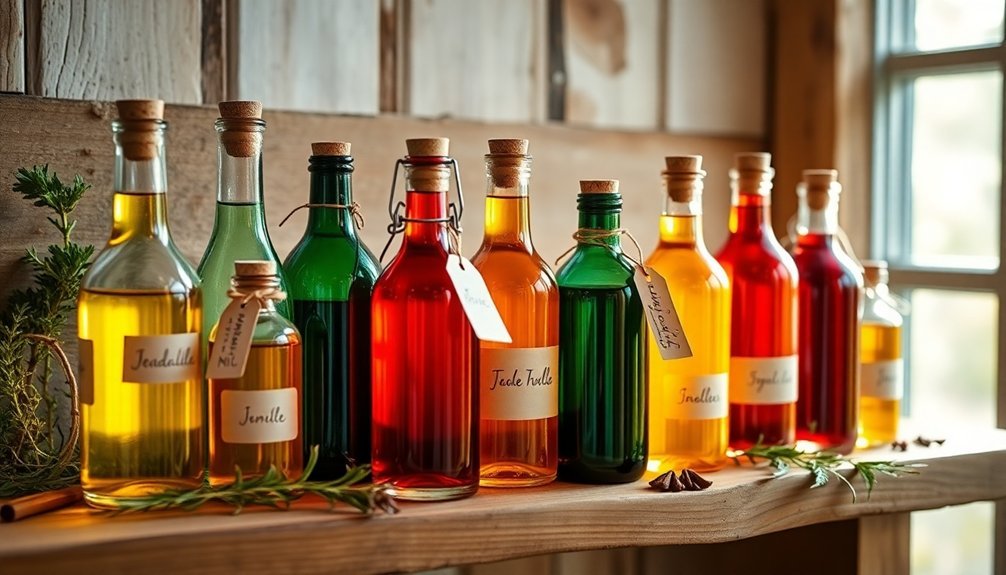
To create the best homemade aromatic oil extracts, you'll want to start with stable base oils like MCT or jojoba as your foundation. Choose your botanicals carefully – mix floral elements like rose and jasmine with warm spices such as cinnamon or citrus zest for complex aromas. You can use either cold maceration for subtle, authentic flavors or hot extraction for bolder results. The secret to superior extracts lies in mastering the delicate balance of time, temperature, and technique.
Selecting the Perfect Base Oil for Your Extracts
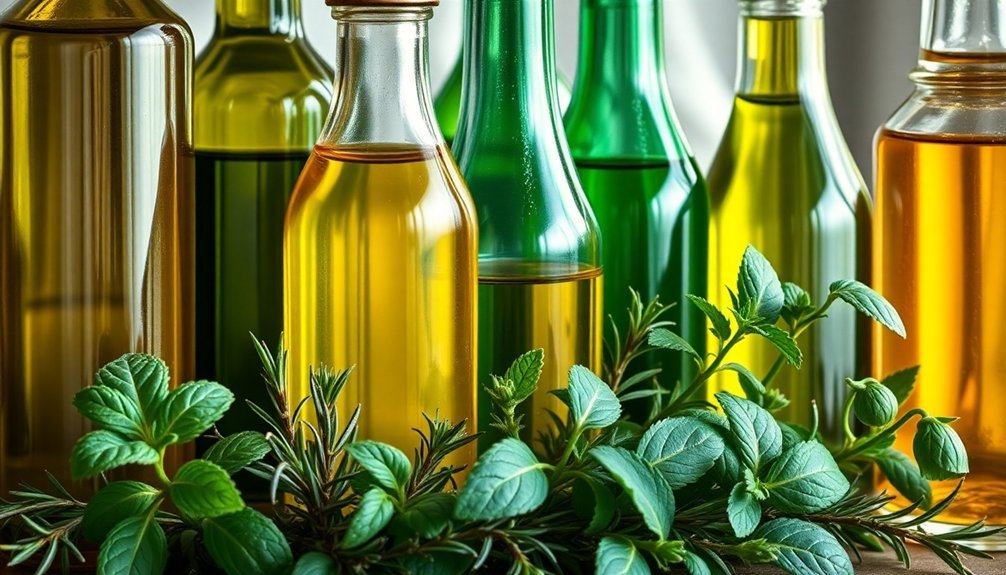
Three key factors determine the perfect base oil for aromatic extracts: stability, absorption rate, and therapeutic properties.
For superior stability, consider MCT oil or jojoba oil, as they're highly resistant to oxidation and offer excellent shelf life. MCT oil's stable triglyceride structure makes it particularly resistant to temperature fluctuations.
Your absorption needs will vary based on your intended use. If you're creating facial oils, you'll want quick-absorbing options like grapeseed or rosehip oil.
For massage blends, sweet almond oil's slower absorption rate works better.
When it comes to therapeutic benefits, each oil brings unique properties. Argan oil excels at fighting inflammation and aging, while castor oil's ricinoleic acid content makes it ideal for reducing swelling.
Rice bran oil offers natural antioxidants through its ferulic acid content, and jojoba oil closely mimics your skin's natural sebum.
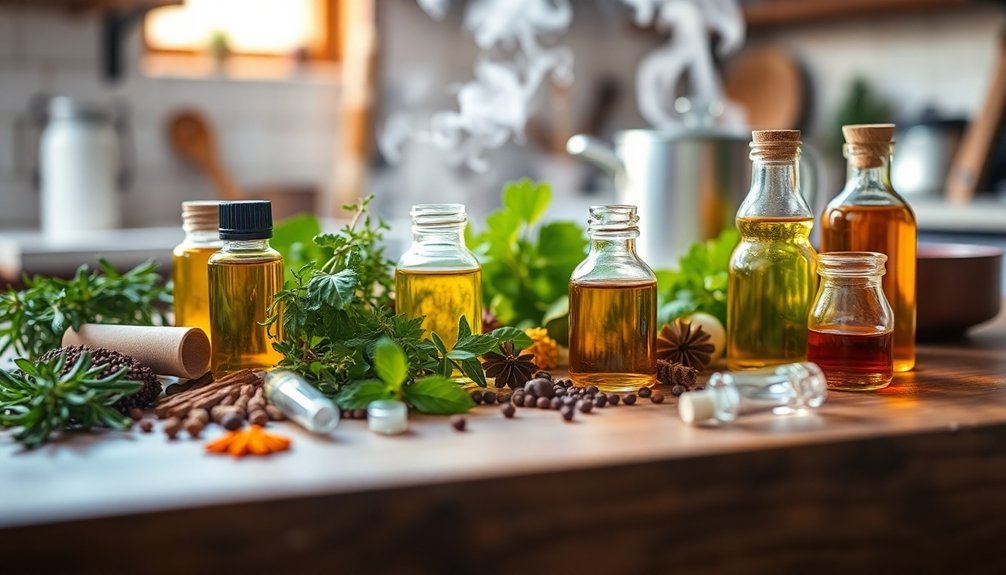
Essential Herbs and Spices for Superior Flavor
Now that you've chosen your base oil, selecting the right herbs and spices will define your extract's character. You'll find the most versatile options among flowers, spices, citrus, and herbs.
For floral notes, try roses, jasmine, or lavender – they'll create a soothing essence. The process requires using at least twice the amount of flowers compared to herbs for optimal results.
If you're seeking warmth, combine cinnamon, cloves, or nutmeg, but remember to grate them first and use sparingly.
Want a bright, invigorating profile? Add 2-3 strips of citrus zest from lemons or oranges to your blend.
Don't overlook herbs like rosemary, peppermint, and lemon balm for their distinctive aromas.
You can create complex flavors by mixing different elements – try combining rose with honeysuckle, or cinnamon with orange zest. Each ingredient brings its unique character to your aromatic oil.
The Art of Cold vs. Hot Maceration Methods
When you're creating aromatic oils at home, temperature plays a vital role in how your flavors develop, with cold maceration preserving delicate notes and hot methods extracting bolder compounds.
You'll notice cold-extracted oils take longer to develop but maintain more subtle, fresh characteristics, while heat-based methods work faster but can alter the original flavors.
Whether you let your herbs steep slowly at room temperature or apply gentle heat, both methods offer unique results that depend on your patience and the specific aromatics you're using. The ideal extraction temperature should stay under 40˚C/104˚F to prevent degradation of the botanical compounds.
Temperature Impact On Flavor
Understanding temperature's role in oil extraction reveals a vital choice between cold and hot maceration methods.
You'll find that cold maceration preserves vitamins and flavonoids better, though it'll take weeks to complete. While it's slower, you're rewarded with more subtle, authentic flavors when using dried plants.
Hot maceration speeds up the process considerably, taking only hours instead of weeks. You'll get more intense flavors, but you're risking the degradation of sensitive compounds and potentially distorting the oil's taste.
If you're working with hop-based extracts, temperature becomes even more essential. At 13-20°C, you'll achieve ideal extraction of key aroma compounds like myrcene and linalool.
For quick extractions under 4 hours, warmer temperatures work best, but remember that circulation is essential for efficient aroma transfer.
Time-Based Extraction Techniques
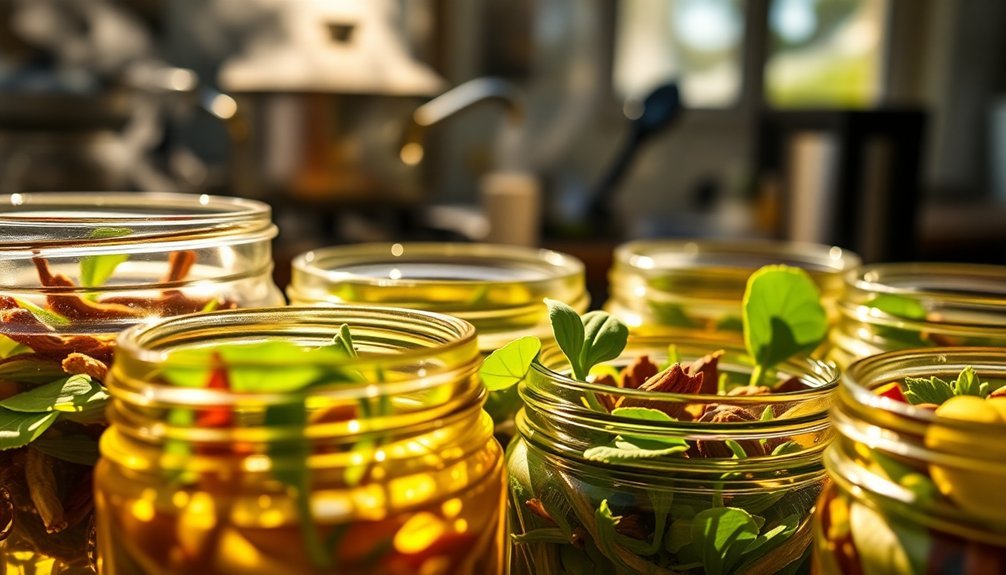
The art of maceration presents two distinct paths: cold and hot extraction methods, each offering unique advantages for your aromatic oils.
Cold maceration takes weeks but preserves delicate compounds and therapeutic properties, while hot maceration delivers quicker results with more concentrated extracts.
For the best results, consider these key differences:
- Cold maceration works best in a sunny spot or bain-marie, capturing heavier molecules while protecting heat-sensitive components – ideal for skincare products.
- Hot maceration requires careful temperature monitoring to avoid scorching, but you'll get faster extraction using a slow cooker or controlled heat setup.
- Time investment varies greatly – cold methods need weeks for full flavor development, while hot techniques can complete the process overnight.
Choose your method based on your timeline and the specific properties you're trying to preserve in your aromatic oils.
Natural Extraction Techniques for Home Use
You'll find two primary approaches to creating aromatic oil extracts at home: cold pressing, which preserves heat-sensitive compounds, and traditional heat-based methods that can speed up the extraction process.
When using cold pressing, you're gently macerating plant materials in a carrier oil at room temperature, while heat-based techniques involve warming your oil and botanicals to encourage faster infusion.
Your choice between these methods will depend on the specific plant materials you're working with and whether preserving temperature-sensitive compounds is essential to your desired outcome.
Cold Press Vs Heat
When extracting aromatic oils at home, choosing between cold pressing and heat extraction methods can greatly impact your final product's quality and yield.
Cold pressing preserves more nutrients and creates clearer oils with better flavor, but you'll get less oil from your raw materials. Heat extraction offers higher yields and works faster, though you might sacrifice some quality and nutritional value.
Consider these key differences when selecting your method:
- Cold pressing works best with high-oil content materials like citrus peels and olives, producing premium-quality oils that retain natural flavors.
- Heat extraction is more efficient for harder seeds and nuts, making it easier to extract oils from tougher materials.
- While cold pressing requires more effort and multiple passes, heat extraction gets the job done faster but may need additional refining.
Traditional Steeping Methods
Traditional steeping methods provide accessible ways to create aromatic oils at home without expensive equipment or complex processes.
You'll find maceration particularly useful for delicate flowers and herbs – simply soak your dried plant material in hot oil for several hours, then strain it.
If you're working with fragile flowers like jasmine or rose, you might want to try enfleurage, which uses organic solvents or hot oil to capture true-to-nature aromas.
For a simpler approach, infusion works similarly to maceration, where you'll steep plant materials in carrier oil – the longer you wait, the stronger the result.
You can also combine water and oil infusion by soaking plants in water first, then mixing with carrier oil.
While these methods produce less concentrated oils than commercial processes, they're perfect for creating customized aromatics at home.
Preserving Essential Plant Compounds
Properly preserving essential plant compounds requires selecting the right extraction method for your specific botanical materials.
When working with delicate flowers and herbs at home, you'll want to choose techniques that protect their natural properties while maximizing extraction efficiency.
- For citrus peels, you can use a simple pressing method that'll maintain the vibrant aromas and active compounds without heat damage.
- If you're working with leafy herbs or flowers, try steam distillation by creating a DIY setup with a pot, strainer, and ice for condensation.
- When handling temperature-sensitive plants, consider cold steeping in carrier oils to preserve their therapeutic properties.
Always remember that heat can degrade certain compounds, so it's vital to match your extraction method to your plant material's specific characteristics.
You'll get the best results by being patient and following proper techniques.
Time and Temperature Control in Oil Infusion
Successful oil infusion depends heavily on precise temperature control and timing to extract the ideal flavors and aromatic compounds.
You'll find that maintaining temperatures between 131°F and 140°F works best for shorter infusions of 5 minutes to 3 hours, while room temperature infusions can extend from 1 to 10 days for deeper flavor development.
For best results, you'll want to use a double boiler or sous-vide method to maintain consistent heat.
Stir your mixture every 30 minutes and monitor the temperature carefully – don't exceed 140°F, as this can damage the oil's flavor.
If you're seeking stronger aromas, try repeating the infusion process after straining.
Remember to allow moisture to escape when using fresh herbs, and always strain your finished infusion properly before storage.
Creating Signature Blend Combinations
When creating your signature oil blends, you'll want to start by selecting oils that naturally complement each other, such as pairing citrus top notes with floral middle notes and woody base notes.
You can enhance your combinations by following the 30/50/20 rule, which guarantees a well-balanced blend using 30% top notes, 50% middle notes, and 20% base notes.
To develop complex, layered aromas, try combining oils from different fragrance families, like mixing Sweet Orange (Citrus) with Lavender (Floral) and Frankincense (Woody) for a balanced, multi-dimensional blend.
Essential Oil Pairing Guide
Creating signature essential oil blends requires understanding both the art and science of pairing different aromatic compounds.
You'll want to start by familiarizing yourself with the five main categories: Citrus, Floral, Herbal, Spicy, and Woody. Each category harmonizes naturally with specific counterparts, making your blending journey more intuitive.
- Follow the 30/50/20 rule when combining oils – use 30% top notes for initial impact, 50% middle notes for body, and 20% base notes for longevity.
- Test your blends on fragrance strips or cotton balls before committing to larger batches.
- Mix oils from complementary categories, like pairing floral with citrus or woody with spicy.
Remember to take into account the strength of each oil and adjust ratios accordingly to prevent any single scent from overpowering your custom blend.
Layering Multiple Flavor Notes
The art of layering multiple flavor notes begins with understanding the delicate interplay between top, middle, and base notes in your signature blends. Start by adding your base notes (20%) to establish a strong foundation, then build up with middle notes (50%) to create depth and character. Finally, crown your blend with top notes (30%) for that initial burst of fragrance.
| Note Level | Essential Oils | Proportion |
|---|---|---|
| Top | Bergamot, Lemon | 30% |
| Middle | Lavender, Rose | 50% |
| Base | Vetiver, Sandalwood | 20% |
You'll want to test your blend on a fragrance strip first, then on your skin to see how it evolves. Don't hesitate to adjust the ratios until you've achieved your perfect signature scent. Remember to document your successful combinations for future reference.
Equipment and Tools for DIY Oil Extraction
Making aromatic oil extracts at home requires specific equipment that varies based on your chosen extraction method.
You'll find that steam distillation setups need a stainless steel or borosilicate glass pot, while vacuum systems rely on pumps and precise pressure control.
For budget-conscious enthusiasts, you can create simple extraction setups using common materials, though they may have limitations:
- Plastic bottles with drilled holes and quarter-inch tubing
- Modified gasoline cans with multiple openings
- Basic vacuum systems using hand pumps or small electric compressors
If you're seeking professional results, consider investing in laboratory-grade equipment made from SUS304 2B stainless steel or borosilicate glass.
These kits come with essential components like boiling flasks, condensers, and temperature control systems, ensuring more reliable and consistent extractions of your aromatic oils.
Proper Storage Solutions for Lasting Aroma
Once you've successfully extracted your aromatic oils, proper storage becomes the next key focus for maintaining their potency and aroma.
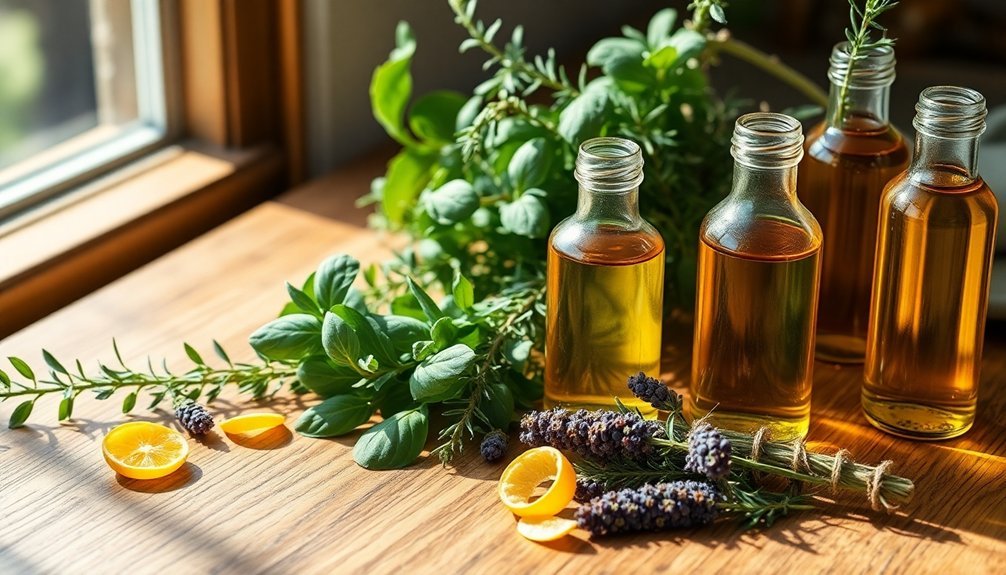
You'll need to store your oils in dark glass containers, preferably amber or cobalt-blue bottles, to protect them from UV damage. Make sure you're using containers with tight-fitting lids and proper cap inserts to minimize oxygen exposure.
Keep your oils in a cool, dark environment between 5-30°C, away from heat sources and direct sunlight. Don't store them near windows, heaters, or hot water pipes.
Write the opening date on each bottle and monitor for any changes in smell or appearance. While most oils can last 3-5 years when stored properly, citrus oils have a shorter shelf life.
If you've created blends with vegetable oils, store them in the refrigerator and use within 6-8 months.
Safety Measures During Oil Preparation
Because safety is paramount when preparing aromatic oils, you'll need to follow strict sterilization and handling procedures to prevent contamination and bacterial growth.
Start by thoroughly washing and boiling your glass containers for 10 minutes, guaranteeing they're completely sterile before use.
When working with fresh ingredients like garlic and herbs, you must acidify them to prevent harmful bacteria.
Heat your vinegar to 190°F and maintain a pH of 4.2 or lower for safety.
Here are essential temperature guidelines to follow:
- Heat oil to 180°F when using dried ingredients
- Maintain 140°F for 5 minutes during quick infusions
- Cool mixtures to room temperature before combining oil with acidified ingredients
Always test pH levels and use clean utensils throughout the process to confirm your aromatic oils are safe for consumption and storage.
Testing and Quality Assessment Methods
To guarantee your homemade aromatic oils meet quality standards, you'll need to perform several essential tests that evaluate their purity and composition.
While professional lab testing using gas chromatography and mass spectrometry provides the most accurate results, you can start with basic organoleptic testing at home. Check your oil's aroma, color, and texture to identify any abnormalities.
For more detailed assessment, consider sending samples to a testing facility that can perform optical and spectroscopic tests. These will verify your oil's authenticity and detect any impurities.
They'll measure important parameters like refractive index and analyze the molecular structure using FTIR spectroscopy.
If you're planning to sell your oils, you'll also need extensive purity testing to guarantee they're free from contaminants, residual solvents, and pesticides.
Frequently Asked Questions
Can I Reuse Herbs and Spices for a Second Batch of Oil?
You can reuse herbs and spices for a second batch, but you'll get weaker results. It's better to use fresh ingredients each time, though dried herbs work better for reuse than fresh ones.
How Do I Know if My Aromatic Oil Has Gone Rancid?
You'll know your oil is rancid if it smells sour, putrid, or like old paint. The color may darken, and it might feel sticky. Trust your nose – if it doesn't smell fresh, don't use it.
Will Filtering Affect the Intensity of Flavors in My Oil?
Yes, filtering will affect your oil's flavor intensity. You'll notice about a 39% reduction in fruity notes, especially in oils with high polyphenol content. However, it won't markedly impact negative flavors like rancidity.
Can I Mix Different Batches of Aromatic Oils Together?
Yes, you can mix different batches of aromatic oils together. Start with small test batches, guarantee the base oils are compatible, and follow the 30/50/20 rule for balancing top, middle, and base notes.
Why Does My Oil Become Cloudy After Adding Certain Ingredients?
Your oil becomes cloudy when plant materials aren't properly dried, waxes are present, or temperature changes occur. You'll also see cloudiness if you've got water contamination or haven't strained ingredients thoroughly enough.
In Summary
You've now got the knowledge to create exceptional aromatic oil extracts at home. Remember to choose high-quality base oils, select fresh herbs and spices, and follow proper extraction methods. Whether you're using cold or hot maceration, maintaining careful time and temperature control will guarantee the best results. Store your oils correctly in dark glass bottles, and always perform quality checks before use.

Leave a Reply