
To safely clean perfume bottles with alcohol, you'll need 70% isopropyl alcohol, gloves, and proper ventilation. Start by emptying bottles completely, then mix equal parts white vinegar and warm water with dish soap. Add rice as a natural scrubber and shake gently. After thorough rinsing, sanitize with alcohol solution using bottle brushes for hard-to-reach areas. Let bottles air dry upside down. Our detailed guide offers professional techniques to guarantee pristine results.
Essential Alcohol Cleaning Safety Measures

When cleaning perfume bottles with alcohol, you'll need to take specific safety precautions to guarantee both effective cleaning and personal protection. High-proof vodka is your best choice since it doesn't contain additives that could leave residues.
While 96% ethanol works too, be aware it might affect future perfume maturation. Proper ventilation should be maintained throughout the cleaning process.
You'll want to avoid splashing alcohol during the cleaning process and make certain of thorough rinsing to prevent contamination. If you can't completely clean a bottle, don't reuse it for sensitive applications.
Choose your cleaning alcohol carefully – vodka, rubbing alcohol, and denatured alcohol are all effective at dissolving essential oil residues.
Remember to handle these solutions with care since they're flammable and can cause irritation if they come into contact with your skin or eyes.
Preparing Your Sanitizing Equipment
Before diving into bottle sanitization, you'll need to gather and organize your essential cleaning equipment. Prepare a well-ventilated workspace with sanitizing trays and a clean sink. You'll want to assemble your tools strategically for efficient cleaning. The pleasant cherry fragrance helps mask any harsh alcohol odors during the sanitizing process.
| Equipment | Purpose | Safety Note |
|---|---|---|
| 70% Isopropyl | Primary sanitizer | Wear gloves |
| Flexible hose | Reach bottle corners | Check attachments |
| Bottle brushes | Interior scrubbing | Clean after each use |
| Drying station | Quick evaporation | Guarantee ventilation |
Set up your sanitizing station with proper lighting and easy access to cleaning solutions. Keep your PBW solution ready for tough residues, and arrange your protective gear nearby. Store your clean equipment in a dedicated area to prevent contamination, and guarantee your sanitizing trays are elevated for comfortable working height.
Step-by-Step Bottle Cleaning Process
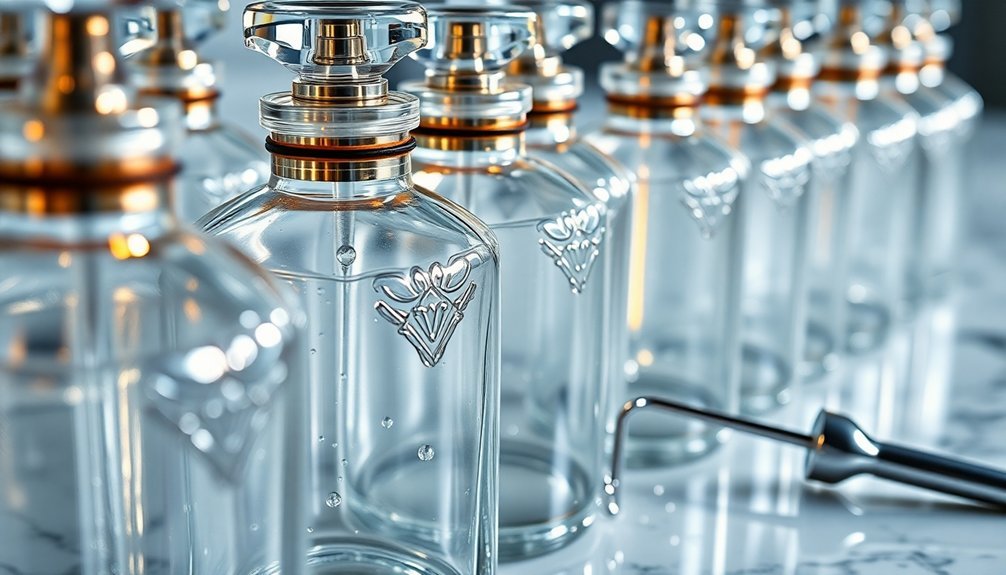
The proper cleaning of perfume bottles requires a systematic approach that builds on your prepared sanitizing equipment.
Begin by emptying any remaining perfume into smaller containers using a funnel, or apply the last drops to cotton balls for later use.
Mix equal parts white vinegar and warm water, then add a small amount of mild dish soap and rice. Gently shake the bottle to let the rice work as a natural scrubber. Allow the mixture to sit one hour for optimal cleaning results.
For intricate designs, use a small brush to reach tight spots. Pay special attention to caps, lids, and crevices where residue often builds up.
Complete the process with multiple warm water rinses until all cleaning agents are removed.
Let the bottle air dry upside down on a clean towel, and inspect thoroughly before reassembly to ascertain no residue remains.
Drying and Quality Inspection Methods
Properly drying your perfume bottles proves just as essential as the cleaning process itself. After cleaning, place your bottles upside down in a well-ventilated area or use a bottle tree for efficient drying. You'll want to guarantee all moisture evaporates to prevent mold growth and maintain bottle integrity.
| Method | Purpose | Quality Check |
|---|---|---|
| Natural Air | Prevents mold | Visual inspection |
| Towel Drain | Absorbs excess | Check for streaks |
| Rack System | Even airflow | Test spray nozzle |
Don't rush the drying process – take time to inspect your bottles thoroughly. Check for water spots, lingering odors, and guarantee caps and nozzles function correctly. Use lint-free cloths for final touches, and store bottles in a controlled environment to maintain their condition. If you spot any damage during inspection, consider refurbishment options before replacement.
Storage and Maintenance Guidelines
Once your perfume bottles are clean and dry, maintaining their pristine condition requires careful storage practices.
Keep them in a cool, dark place like a closet or drawer, away from direct sunlight and heat sources that can break down their delicate chemical composition.
Store perfumes in cool, dark spaces to protect their delicate chemistry from heat and light damage.
Don't store your perfumes in the bathroom, where humidity and temperature fluctuations can degrade their quality. Instead, use their original packaging for extra protection, and make certain caps are always tightly sealed to prevent oxidation.
Check your bottles regularly for signs of spoilage, and handle them gently without excessive shaking.
For best preservation, maintain a low-humidity environment and avoid placing bottles near radiators, stoves, or windowsills.
You'll extend your perfumes' life by following these storage guidelines and protecting them from environmental factors.
Frequently Asked Questions
How Long Should I Wait Before Reusing a Cleaned Perfume Bottle?
You'll need to wait at least 24 hours after cleaning and drying your perfume bottle. If you've used alcohol sanitizing, make certain it's completely dry and free from any residual scents before refilling.
Can I Mix Different Types of Cleaning Alcohols for Better Results?
You shouldn't mix different types of cleaning alcohols. It won't improve effectiveness and could create harmful interactions. Stick to one type of alcohol at the recommended concentration for your specific cleaning needs.
What Signs Indicate a Perfume Bottle Cannot Be Properly Sanitized?
You'll know a perfume bottle can't be sanitized if it has cracks, chips, stubborn stains, poor seals, narrow necks, or intricate designs. Plastic bottles and those with mineral deposits are also problematic.
How Often Should I Replace My Bottle Cleaning Brushes and Tools?
You'll need to replace your bottle cleaning brushes every 30-45 days. For regular use, change them every 2-3 months. If you notice worn bristles, fraying, or discoloration, replace them immediately.
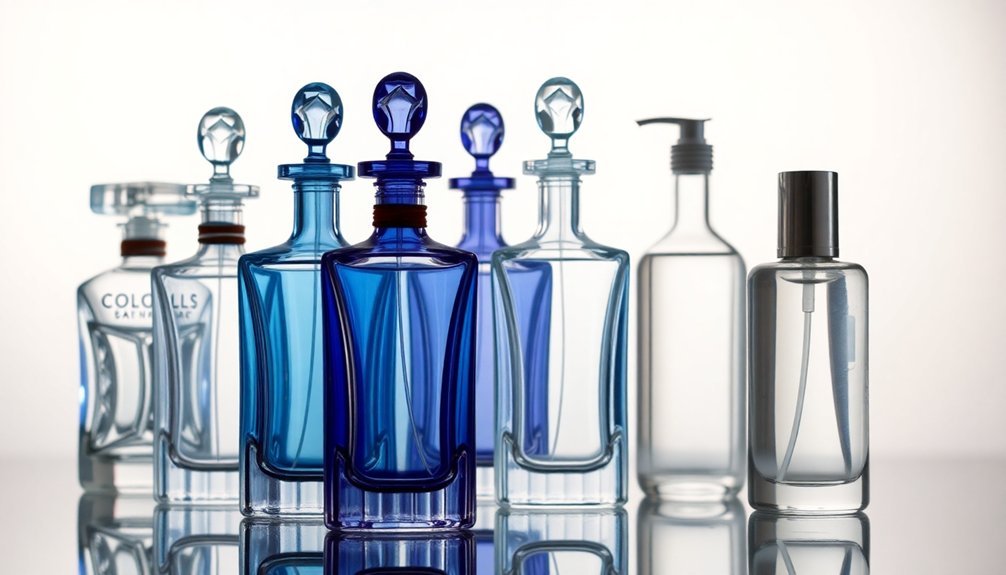
Will Cleaning Dark-Colored Bottles Require Different Techniques Than Clear Ones?
You'll need to be gentler with dark bottles as scratches show more easily. While clear bottles can handle rice as an abrasive, stick to soft brushes and mild cleaners for dark-colored ones.
Leave a Reply