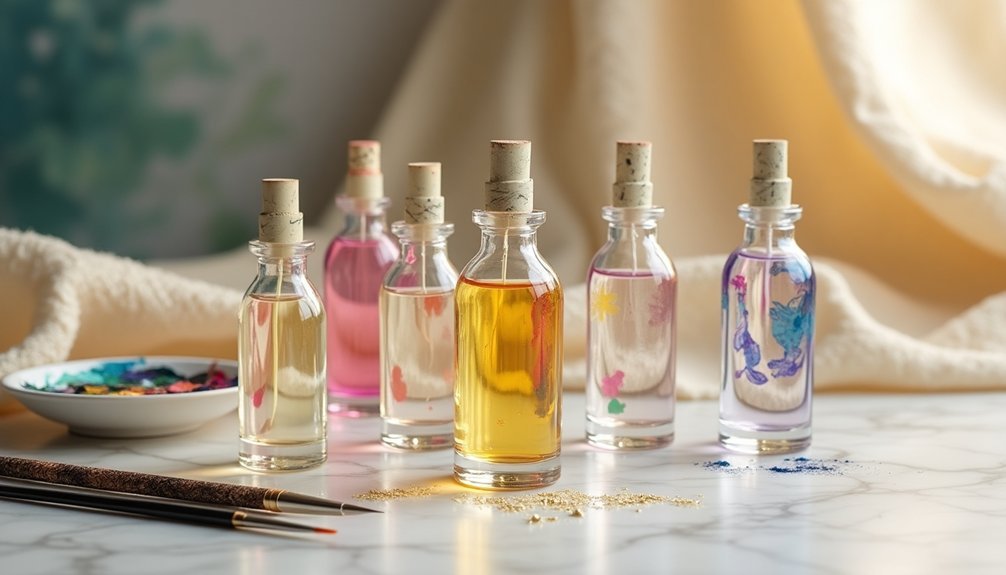
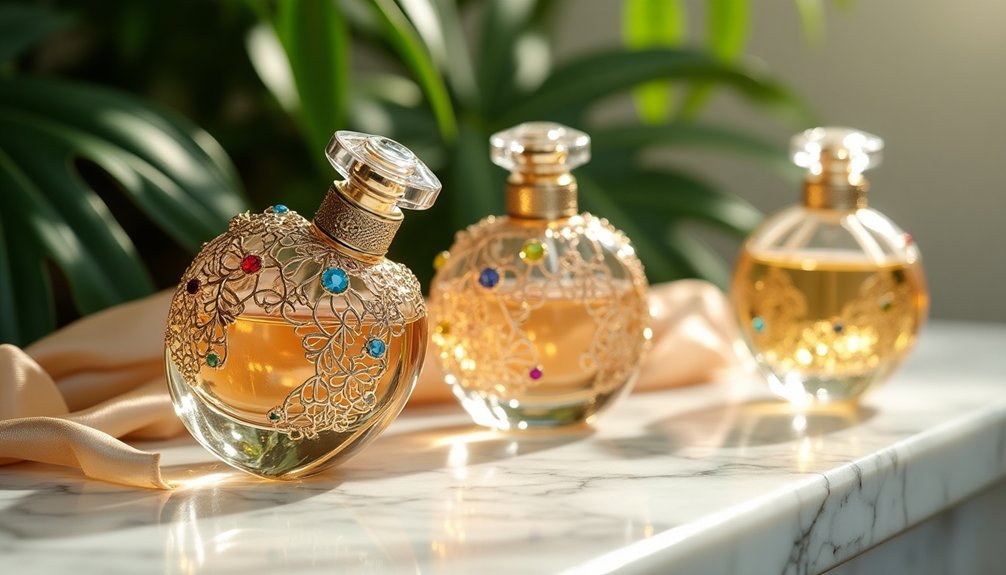
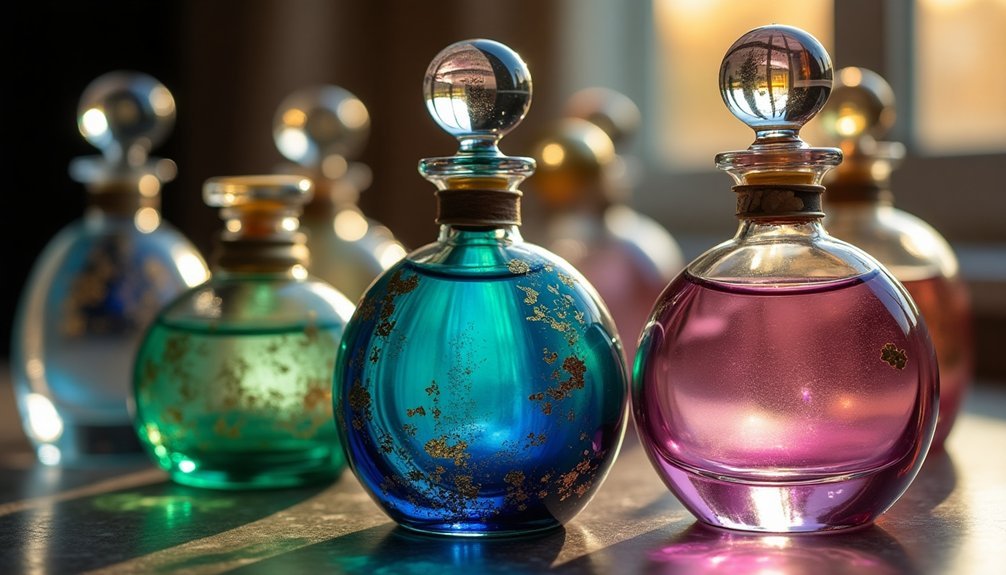
Transform plain perfume bottles into elegant art pieces by starting with proper surface preparation using isopropyl alcohol and glass primer. You'll want to apply high-quality acrylic paints in focused colors like titanium white, ultramarine blue, and CAD yellow light using small angle brushes for precise detail work. Add luxury with strategic gold leaf accents and metallic highlights to create reflective effects. Master these foundational techniques, and you'll reveal endless creative possibilities for bottle customization.
Essential Materials and Tools for Bottle Transformation

When starting on perfume bottle transformation, you'll need a carefully curated set of materials to achieve professional results.
Begin with high-quality acrylic paints, including titanium white, ultramarine blue, and CAD yellow light, which will give your designs the vibrancy and depth they need.
You'll want to invest in an artistic pen for creating precise outlines with varying line thickness, adding sophistication to your artwork. A small angle brush is essential for applying colors with accuracy, especially in detailed areas of the perfume bottle.
Keep your brushes clean between colors to maintain the purity of each shade and prevent unwanted color mixing.
Don't forget to gather reference images before you begin – they'll serve as valuable guides throughout your painting process, helping you create a truly luxurious piece.
Preparing Your Perfume Bottle Surface
Before you begin transforming your perfume bottle, you'll need to clean it thoroughly with rubbing alcohol to remove any oils and residue that could interfere with paint adhesion.
If your bottle has a glossy finish, a light sanding will help create a surface that paint can grip effectively.
Finally, apply an even coat of glass primer to create the perfect foundation for your artistic vision.
Clean Bottle With Alcohol
Since proper surface preparation is essential for paint adhesion, you'll need to start by thoroughly cleaning your perfume bottle with isopropyl alcohol.
Using a lint-free cloth or paper towel, apply the isopropyl alcohol to remove any oils, residue, or hidden contaminants from the bottle's surface. If your bottle has been in storage or appears dusty, you may need to repeat this cleaning process.
Don't forget to remove any labels that might interfere with your design.
After cleaning, wait for the bottle to dry completely. Even the smallest amount of moisture can compromise your paint's ability to stick to the surface.
Make sure you've wiped away all traces of cleaning materials and haven't left behind any cloth fibers that could mar your artistic creation.
Smooth Surface With Primer
To achieve a flawless painted finish, applying primer to your perfume bottle creates an indispensable foundation for your design. Select a primer that's compatible with your bottle's material, whether it's an acrylic or spray formula. This vital step guarantees ideal paint adhesion and a smooth surface for your artwork.
Apply several thin coats of primer rather than one thick layer, allowing each coat to dry completely according to the manufacturer's specifications. Don't rush this process, as proper drying time prevents smudging and uneven textures.
Once the primer has fully dried, gently sand the surface with fine-grit sandpaper to create an ultra-smooth base. This careful preparation will greatly enhance your final painted design and give your perfume bottle a professional, polished appearance.
Creating Elegant Base Design Templates

Begin your artistic journey by mastering basic bottle sketching techniques, using varied line weights and a steady hand to establish your bottle's distinctive silhouette.
You'll want to focus on the bottle's shape design elements, including curves, angles, and proportions that will serve as your foundation for the complete artwork.
Creating perfect symmetrical lines becomes easier when you're using a traceable template, which allows you to maintain consistency while developing your unique perfume bottle design.
Basic Sketching Techniques Required
Mastering three fundamental sketching techniques forms the foundation for creating elegant perfume bottle designs. You'll start by lightly outlining the bottle's shape and floral elements to achieve perfect balance. Next, trace over your initial sketch with an artistic pen, varying line thickness to create visual depth.
| Technique | Purpose |
|---|---|
| Basic Shapes | Build structural foundation |
| Line Weight | Add depth and dimension |
| Highlight/Shadow | Create 3D effects |
| Proportion Guide | Confirm accurate measurements |
While sketching, keep a reference bottle nearby to maintain proper proportions. Practice simple geometric shapes first – circles, rectangles, and curves – before attempting complex details. Remember to identify where light hits the bottle's surface, as these highlights will bring your sketch to life when adding shadows and dimensional elements.
Bottle Shape Design Elements
The foundation of an elegant perfume bottle design lies in its base shape and proportions. You'll want to focus on incorporating graceful curves and a tapered neck that instantly communicates luxury.
By balancing geometric elements like circles and ovals, you're creating a silhouette that draws the eye and establishes visual harmony.
To achieve a sophisticated design, consider these essential elements:
- Vary the proportions between the bottle's body, neck, and cap to create a distinctive silhouette.
- Add decorative touches through fluted edges or embossed patterns for depth.
- Select glass tints that complement your chosen shape while enhancing the luxury factor.
Remember to experiment with different combinations of these elements until you find the perfect balance.
Your goal is to create a bottle that's not just a container, but a piece of art that demands attention.
Creating Perfect Symmetrical Lines
When crafting symmetrical lines for your perfume bottle design, precision serves as your greatest ally. Begin by positioning your ruler or straightedge to establish the bottle's base outline, ensuring both sides perfectly mirror each other.
You'll want to start with light pencil strokes, making it easier to adjust your design before finalizing with an artistic pen.
For those elegant curves and rounded edges that define luxury perfume bottles, you'll need a compass or circular template. As you draw, maintain steady pressure and consistent speed to achieve uniform line thickness throughout your design.
Don't forget to periodically step back and view your work from a distance – this helps you spot any asymmetry that needs correction before moving on to the painting phase. This careful attention to detail will elevate your bottle design to professional standards.
Mastering Color Selection and Blending

Successful transformation of perfume bottles into art hinges on your ability to select and blend colors effectively. Start by choosing a focused palette featuring CAD yellow light and titanium white to create a harmonious composition.
Create striking bottle art by carefully selecting and blending colors, beginning with CAD yellow light and titanium white for perfect harmony.
You'll want to keep your brushes pristine between applications to maintain color clarity and vibrancy.
For professional-quality results, follow these critical blending steps:
- Use a small angle brush to create smooth shifts between colors.
- Mix ultramarine blue with black or Payne's gray for a striking background.
- Apply varying line thicknesses with an artistic pen for dynamic outlining.
The key is patience during the blending process – don't rush the color shifts.
Your careful attention to these techniques will bring depth and dimension to your perfume bottle artwork, transforming it from ordinary to extraordinary.
Adding Metallic Accents and Highlights
You'll discover that adding gold leaf details creates an instant touch of opulence to your perfume bottle artwork, especially when applied strategically to edges and ornamental features.
By layering metallic paints with varying levels of transparency, you can produce enchanting light effects that mimic the way real glass catches and reflects light.
The interplay between gold leaf accents and reflective effects transforms your piece into a sophisticated visual statement that commands attention from every angle.
Mastering Gold Leaf Details
Adding gold leaf details transforms ordinary painted perfume bottles into luxurious works of art that catch and reflect light beautifully.
You'll need specialized adhesive and a soft brush to achieve professional results that elevate your piece's aesthetic appeal.
For flawless gold leaf application, follow these essential steps:
- Guarantee your painted surface is completely dry before applying the adhesive.
- Use gentle brushstrokes to press the gold leaf onto the adhesive, avoiding clumps.
- Burnish with a soft cloth or specialized tool to enhance the shine.
Place your gold leaf accents strategically where light naturally hits the bottle to create realistic highlights.
Choose colors that complement the gold leaf in your painting to achieve a cohesive look.
This combination of techniques will help you create stunning, gallery-worthy perfume bottle art.
Creating Reflective Light Effects
When painting perfume bottles, mastering reflective light effects alters a flat image into a three-dimensional masterpiece.
To capture the bottle's luminous quality, you'll want to mix metallic paint or acrylic mediums with silver or gold tones that mimic glass and metal surfaces.
Using a small angle brush, apply highlights with titanium white or lighter shades of your base color where light naturally strikes the bottle.
Vary your brushstroke thickness to follow the bottle's contours, creating depth and dimension.
As you work with metallic accents, gently feather the edges to achieve smooth shifts and a realistic sheen.
Remember to let each layer dry completely before adding the next one – this patience will guarantee your highlights remain crisp and your reflective effects stay clear and distinct.
Applying Decorative Patterns and Motifs
The art of perfume bottle decoration reaches new heights through the thoughtful application of decorative patterns and motifs. You'll transform ordinary bottles into stunning pieces by incorporating intricate floral and geometric designs using metallic or iridescent paints.
To achieve professional results, layer your designs by starting with a solid base coat before adding detailed patterns. This technique creates depth and dimension that'll catch the light beautifully.
For consistent, precise patterns, utilize stencils or stamps across your collection.
For the most striking impact, follow these key color principles:
- Select a harmonious color palette that complements your patterns
- Layer metallic accents strategically to enhance luxury appeal
- Balance bold designs with subtle background elements
Remember to maintain cohesion between your chosen motifs and colors to create a unified, sophisticated appearance.
Glass Etching and Frosting Techniques
By mastering glass etching and frosting techniques, you'll elevate your perfume bottles to professional-grade art pieces.
Using chemical etching cream or sandblasting, you can create intricate designs that result in a stunning frosted appearance. For a simpler approach, try applying frosted spray paint specifically formulated for glass surfaces to achieve a smooth, matte finish.
When working with detailed patterns, use stencils to guarantee precise and consistent designs across multiple bottles.
Don't forget to wear protective gear, including gloves and goggles, especially when handling chemical etching creams.
Once you've completed your design, seal the glass with clear acrylic spray to protect your artwork from scratches and daily wear.
This final step will ensure your transformed perfume bottles maintain their luxurious appearance for years to come.
Embellishing With Natural Elements
Natural elements offer endless possibilities for transforming ordinary perfume bottles into extraordinary works of art.
Nature's touch turns simple perfume vessels into masterpieces, bringing organic elegance to everyday beauty.
You'll find that incorporating pressed flowers, leaves, and twigs creates a unique organic aesthetic that's both elegant and personal. By wrapping the bottle with natural textiles like jute or cotton, you're adding a luxurious tactile dimension that elevates its appeal.
For a truly distinctive creation, try these nature-inspired techniques:
- Apply natural dyes from fruits and vegetables to tint the glass surface.
- Adorn the bottle with carefully selected stones, shells, or crystals as focal points.
- Infuse the piece with essential oils to create a multi-sensory experience.
The combination of these natural elements transforms your perfume bottle into a stunning decorative piece that captures nature's beauty while maintaining sophisticated charm.
Sealing and Protecting Your Artwork
Once you've adorned your perfume bottle with natural elements, safeguarding your creation becomes the next key step in preserving its beauty. A clear acrylic sealer will provide the durable finish you need to prevent fading and chipping of your artwork.
Before applying any sealant, make sure your design is completely dry to avoid smudging. You'll want to use a spray sealer rather than a brush-on variety, as this guarantees an even coating without unsightly brush marks.
For the best results, don't rush to apply one thick layer. Instead, build up protection with multiple thin coats, allowing each one to dry thoroughly before adding the next.
Once you're finished, store your bottle in a cool, dry spot away from direct sunlight to maintain its vibrant appearance.
Customizing Bottle Caps and Stoppers
While the bottle itself serves as your primary canvas, the cap or stopper offers another opportunity for artistic expression. You'll find acrylic paint ideal for customizing these elements, allowing you to create designs that complement your bottle's overall artwork.
Don't forget to seal your painted caps with varnish to guarantee long-lasting results.
To elevate your cap designs to luxurious heights:
- Add dimensional elements like glass beads, crystals, or metallic accents
- Create texture using glitter, fabric, or embossed patterns
- Match colors carefully with your bottle's theme for a unified look
When working with bottle caps, remember that these small details can make a significant impact on your final piece.
The right embellishments and careful attention to color coordination will transform an ordinary stopper into an eye-catching focal point.
Displaying Your Finished Art Pieces
After putting your creative energy into transforming perfume bottles, you'll want to showcase them effectively. A decorative shelf or display case serves as the perfect stage for your creations, allowing their intricate details to catch the eye.
Add strategic lighting, such as spotlights or LED strips, to highlight the bottles' unique features and create an enchanting ambiance.
Thoughtful lighting transforms ordinary bottle displays into mesmerizing showcases, bringing each detail to life in a magical dance of light and shadow.
Arrange your bottles thoughtfully, grouping them by color schemes or themes to create a cohesive display that tells a story.
Don't forget to protect your masterpieces using glass or acrylic display boxes, which shield them from dust while adding an elegant touch.
Share photos of your displayed collection on social media platforms to connect with fellow artists and receive valuable feedback, building a community around your artistic journey.
Frequently Asked Questions
What Can You Make Out of Empty Perfume Bottles?
You can turn empty perfume bottles into elegant vases, decorative candle holders, painted display pieces, storage containers for beauty products, and artistic pieces filled with colored water or sand for unique home decor.
Can You Do Anything With Old Perfume Bottles?
You can transform old perfume bottles into gorgeous home decor. Try making them into vases, candle holders, or painted art pieces. They're perfect for DIY projects and creating unique collectible displays.
How to Make Money From Empty Perfume Bottles?
You can sell empty perfume bottles directly online, transform them into art pieces for craft sales, or customize them with decorative elements. List rare designer bottles on auction sites or collaborate with beauty influencers for better exposure.
How to Style Perfume Bottles?
Place your perfume bottles on decorative trays, arrange them at varying heights, and add elegant accents like flowers or candles. Position them near natural light and group similar bottles together for a polished display.
In Summary
You've now mastered the art of transforming ordinary perfume bottles into stunning decorative pieces. By following these techniques for surface preparation, design work, and embellishment, you'll create unique conversation pieces for your home or thoughtful gifts. Don't be afraid to experiment with different colors, textures, and natural elements – each bottle can become its own masterpiece. Display your creations proudly and let them inspire your next artistic project.


Leave a Reply