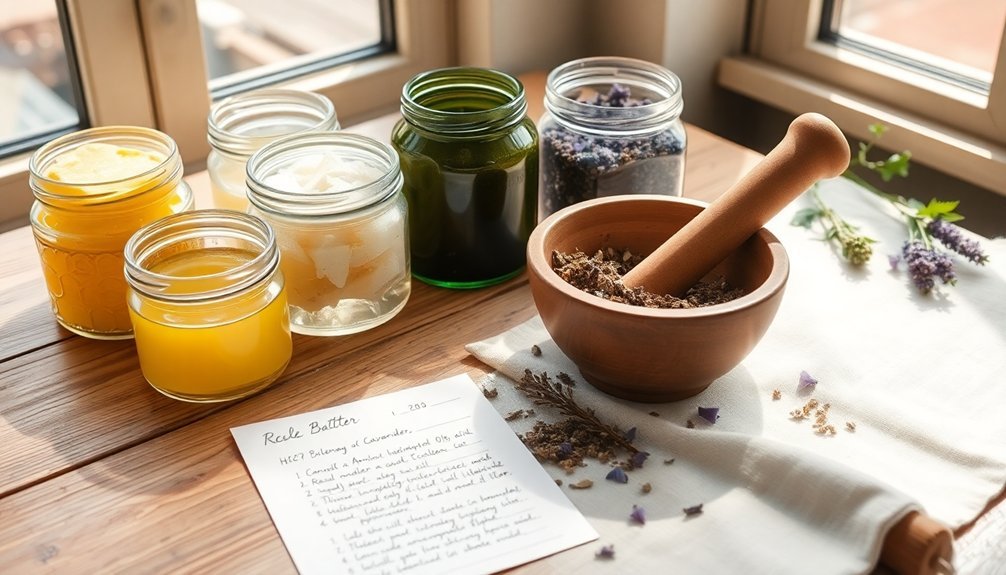
Create your own healing balm perfume by combining natural ingredients like beeswax, shea butter, and carrier oils with therapeutic essential oils. You'll need basic equipment including a double boiler, measuring tools, and dark glass containers. Mix your chosen essential oils following the 30/50/20 ratio for a balanced fragrance, then blend with melted base ingredients at 95-100°F. Proper storage and safety practices will guarantee your aromatherapy balm delivers lasting benefits and therapeutic properties. Let's explore the specific steps to craft your perfect blend.
Understanding the Benefits of Aromatherapy Balms
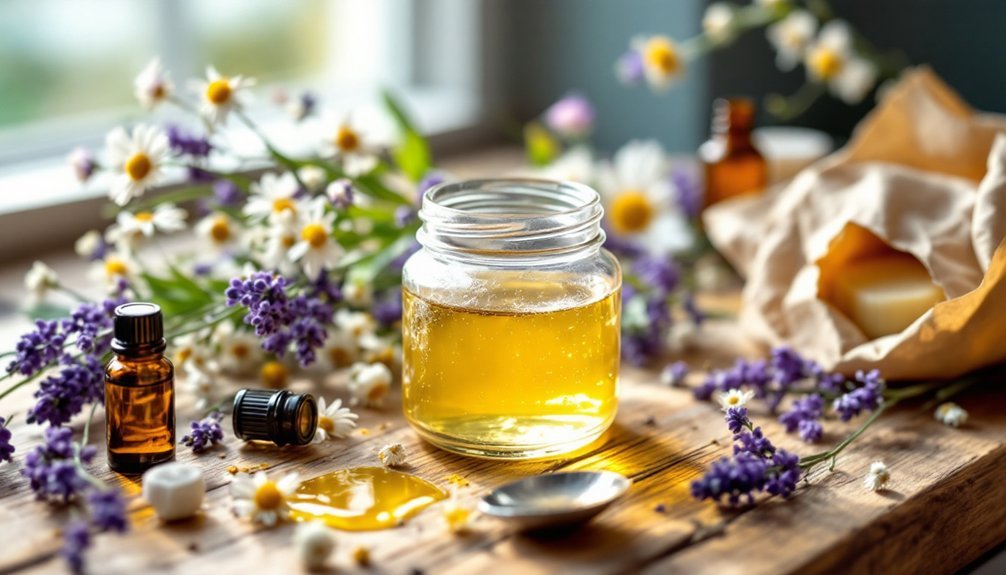
While many people turn to commercial perfumes for their daily scent needs, aromatherapy balms offer a natural alternative with profound therapeutic benefits. You'll find these balms can greatly reduce stress and anxiety through calming scents like lavender and frankincense, while improving your overall mood and mental well-being.
Beyond their emotional benefits, aromatherapy balms provide tangible physical relief. They'll ease muscle tension, soothe headaches, and even help clear your sinuses when formulated with ingredients like wintergreen, peppermint, or eucalyptus. You can apply them directly to pressure points or areas of discomfort for targeted relief. The portable formats available make it convenient to carry and use these therapeutic balms anywhere, from work to travel.
What's more, these all-natural products often contain moisturizing ingredients like shea butter that nourish your skin while delivering therapeutic properties. Whether you're seeking relaxation, pain relief, or enhanced focus, there's a balm blend that's right for you.
Essential Tools and Equipment Needed
You'll need basic melting equipment like a double boiler or small crock pot to safely heat and combine your balm ingredients.
When starting your balm-making journey, invest in precise measuring tools such as digital scales and heat-safe measuring cups to guarantee consistent results.
Choose appropriate storage containers based on your balm's intended use, opting for tins for travel-friendly versions or glass jars for home use. Clean all tools thoroughly using hot soapy water after each use to maintain quality and prevent cross-contamination.
Basic Melting Equipment Needed
Successful healing balm creation starts with having the right melting equipment on hand. You'll need a reliable double boiler setup or a dedicated melter to safely melt your ingredients without burning them. For precise pouring, heat-resistant pitchers and confectionery funnels are essential tools. Since the recipe requires melting over low heat, maintaining temperature control is crucial for proper ingredient blending.
| Equipment Type | Purpose |
|---|---|
| Double Boiler | Melts ingredients safely without direct heat |
| Melter/Crock Pot | Alternative for controlled wax melting |
| Heat-Resistant Pitchers | Safe transfer of hot mixtures |
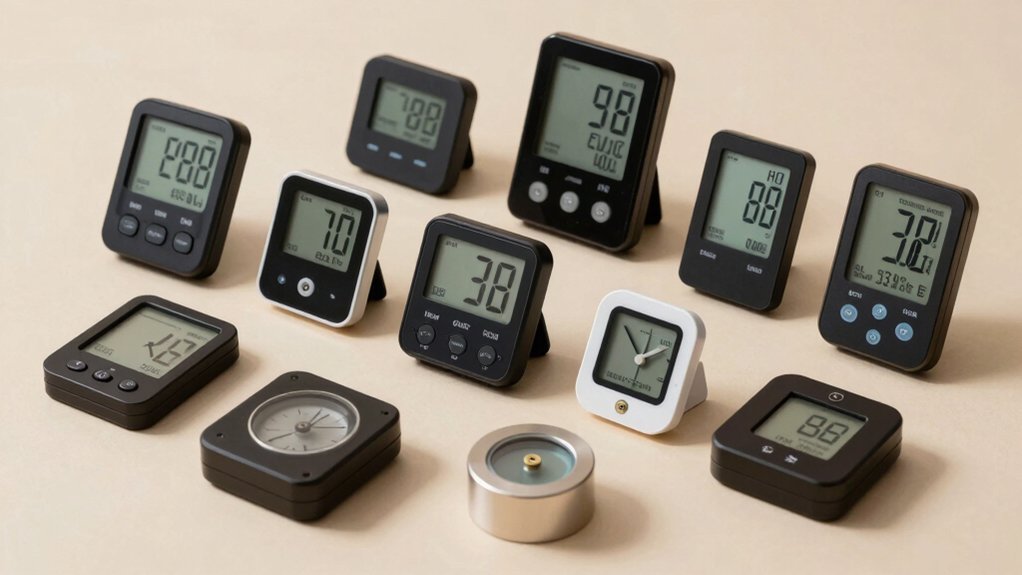
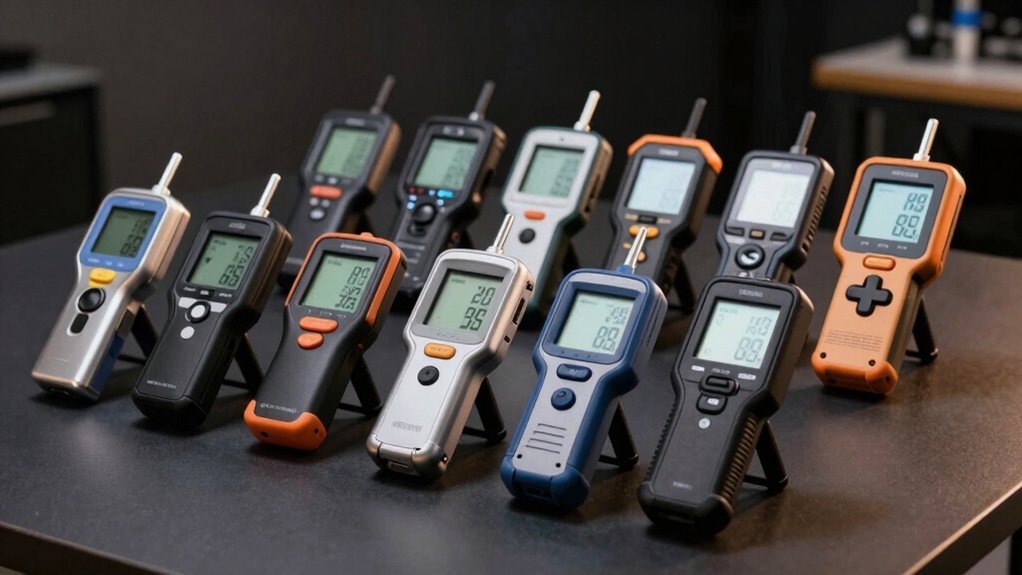
| Thermometer | Monitors temperature for consistency |
| Measuring Tools | Guarantees accurate ingredient portions |
Keep your workspace organized with measuring cups and a reliable scale nearby. These tools will help you maintain consistency in your recipes and guarantee a smooth production process. Remember to handle hot equipment with care, using protective gloves when necessary.
Storage Container Selection Guide
Now that you've gathered your melting equipment, selecting the right storage containers will make or break your DIY healing balm perfume project.
Dark-tinted glass containers with hermetic seals are your best choice, as they'll protect your blend from light exposure and oxidation. Avoid plastic containers since they can react with essential oils and compromise your formula's integrity.
For ideal storage and preservation of your healing balm perfume, consider these key features:
- Small, dark amber glass jars with airtight lids for individual portions
- Wide-mouth containers that make it easy to pour and access your blend
- Glass containers with silicone-coated lids to prevent sticking and guarantee a proper seal
Remember to sterilize your containers before use and store them in a cool, dark place to maintain freshness and potency.
Measuring Tools For Success
Three essential measuring tools form the foundation of any successful healing balm perfume creation. You'll need measuring cups for accurate liquid portions, a digital kitchen scale for precise ingredient weights, and droppers or pipettes for handling essential oils. These tools guarantee your blend remains consistent and safe.
When working with essential oils, you'll want to use clean glass beakers for mixing small quantities, and testing strips to evaluate your blends before skin contact.
Don't forget to keep a journal to document your recipes – this practice helps you replicate successful formulations. Remember that precision in measurement directly affects the quality and safety of your final product.
For the smallest quantities, measuring cylinders offer the control you need, especially when working with concentrated oils.
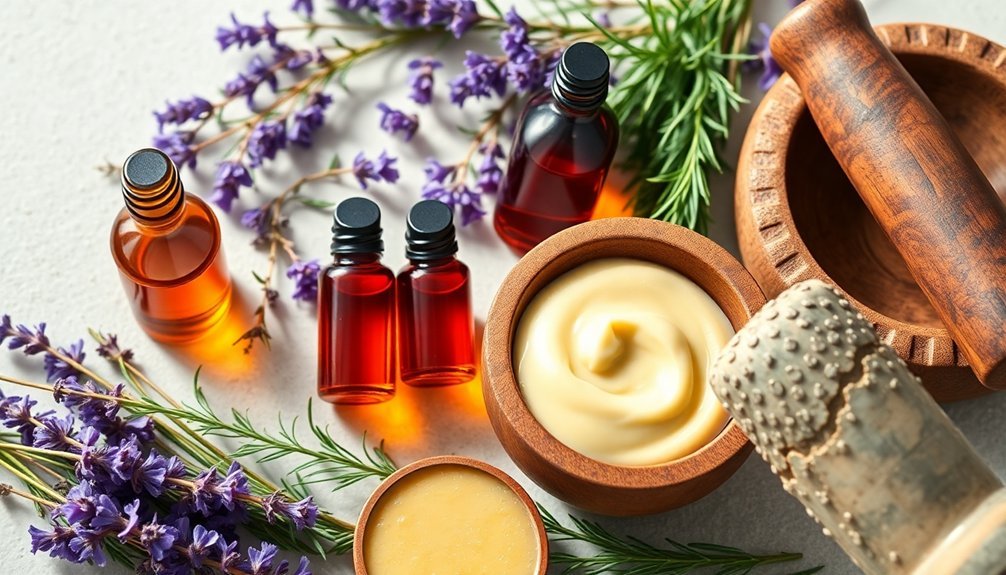
Base Ingredients for Your Healing Balm
To create your healing balm perfume's base, you'll need to select a nourishing carrier oil like jojoba or sweet almond oil that serves as your foundation.
Your choice of natural wax, whether it's traditional beeswax or plant-based alternatives like carnauba, will determine the balm's firmness and protective qualities.
Adding butters such as shea or mango will enhance your balm's therapeutic properties while providing rich moisture to the skin.
Essential Carrier Oil Choices
Selecting the right carrier oil forms the foundation of your healing balm perfume, since these base ingredients will determine both the texture and therapeutic benefits of your final product.
You'll find that coconut oil creates a solid consistency perfect for balms, while olive oil offers a more liquid texture that's budget-friendly. For sensitive skin, contemplate jojoba or sweet almond oil, as they're lightweight and less likely to cause reactions.
Choose your carrier oil based on:
- Your skin type and any sensitivities you might have
- The desired consistency of your final product (solid vs. liquid)
- Specific therapeutic benefits you're seeking, such as moisturizing or anti-inflammatory properties
Remember to contemplate how you'll infuse herbs into your chosen carrier oil, as this will enhance your balm's healing properties.
Natural Wax Selection Guide
When crafting your healing balm perfume, choosing the right natural wax will determine its texture, stability, and therapeutic properties.
Beeswax offers natural antimicrobial benefits and is easy to work with, making it an excellent foundation. If you're following a vegan lifestyle, you can substitute it with soy wax in a 1:1 ratio.
For a firmer texture, consider carnauba or candelilla wax, but be mindful of their higher melting points and tendency to crack. You'll need less candelilla wax compared to beeswax due to its firmness.
To enhance stability and customize texture, try blending different waxes together.
Remember to factor in cost, availability, and sustainability when selecting your wax. Proper storage and temperature control during manufacturing will guarantee your balm maintains its quality and extends its shelf life.
Nourishing Butter Types
The perfect healing balm starts with choosing the right nourishing butter as your base ingredient.
You'll find butters specifically formulated for different skin types, from dry to sensitive and mature skin. For your healing balm perfume, consider blending two complementary butters to create a customized solution that addresses multiple skin concerns.
- For dry skin, combine mango and mowrah butter to boost hydration and improve elasticity.
- If you're dealing with sensitivity, mix rosehip and baobab butter for a soothing, antioxidant-rich base.
- For mature skin, blend pomegranate seed and argan butter to fight aging signs while nourishing.
Choose butters that align with your skin's needs and remember that quality matters.
The right butter combination will serve as the perfect carrier for your therapeutic essential oils.
Selecting Essential Oil Combinations
Creating your perfect essential oil blend starts with understanding how different aromatic notes work together. Choose base notes like sandalwood or patchouli for a lasting foundation, then add middle notes such as lavender or geranium for complexity. Top it off with citrus oils that'll provide an initial burst of fragrance.
You'll want to select oils from complementary categories. Try combining woodsy oils with florals, or citrus with oriental scents.
For a healing balm perfume, consider tried-and-true combinations like cedarwood, orange, and lavender for grounding and serenity, or geranium, lavender, and bergamot for emotional balance.
Don't forget to test your blends in small batches, and always dilute them with carrier oils like jojoba or grapeseed for safe skin application.
Step-by-Step Melting Process
Successfully melting your balm ingredients requires a proper double boiler setup and careful attention to temperature control.
You'll need to fill your bottom pan with water and place your ingredients in the top container, ensuring it's properly submerged for even heating. Set your stove to medium-high heat and stir occasionally as your beeswax and carrier oils combine.
Essential tips for perfect melting:
- Keep your workspace well-ventilated and avoid breathing in any fumes
- Don't add essential oils until after the mixture has melted to preserve their therapeutic properties
- Let your balm cool in open containers to prevent unwanted moisture from forming
Remember to maintain consistent heat throughout the process, and you'll achieve a smooth, uniform blend that's ready for pouring and setting.
Proper Blending Techniques
When you're ready to blend your essential oils, start with your base notes first, followed by middle notes, and finish with top notes to create a balanced fragrance that follows the 30/50/20 ratio.
You'll want to maintain a temperature between 95-100°F (35-38°C) during the mixing process to guarantee proper integration without compromising the oils' therapeutic properties.
Keep testing your blend on fragrance strips as you go, allowing each addition to settle for a few minutes before making further adjustments.
Essential Oil Mixing Steps
Before diving into essential oil blending, you'll need to understand how different oils interact and complement each other. Start by categorizing your oils into top, middle, and base notes, then use the 30/50/20 rule as your foundation for a balanced blend.
Test each oil's aroma strength using fragrance strips, as this will help you adjust ratios effectively.
For your healing balm perfume, follow these essential steps:
- Place individual drops of each oil on separate testing strips to evaluate their aromas and determine compatibility.
- Mix your chosen oils following the 30/50/20 ratio, adjusting amounts based on aroma strength.
- Let your blend mature for 48 hours before adding it to your carrier oil at a 3% dilution rate.
Remember to store your final blend in a dark bottle and keep detailed records of your formulation.
Temperature Control Guidelines
Proper temperature control serves as the foundation for creating an effective healing balm perfume. You'll want to blend your oils at around 20°C (68°F) to maintain ideal consistency. For thick oils, warm them gently using a water bath or warm rice method – never apply direct heat, as this can damage their therapeutic properties.
| Temperature Guide | Method | Benefits |
|---|---|---|
| Room Temp (20°C) | Standard Blending | Maintains oil integrity |
| Slightly Warm | Water Bath | Improves thick oil flow |
| Cool Storage | Dark Cabinet | Preserves potency |
When handling your oils, make sure your workspace is well-ventilated and away from direct heat sources. Keep your bottles tightly sealed between uses and store them in a cool, dark place to protect their aromatic qualities and healing properties.
Setting and Storage Guidelines
Successfully creating and maintaining your healing balm perfume depends largely on how you store it.
You'll want to keep your blend in a dark-colored glass bottle with a tight-fitting lid to protect it from light degradation and air exposure.
Don't store your perfume in bathrooms or kitchens where humidity can affect its quality. Instead, choose a cool, dark closet or drawer away from heat sources.
- Label your bottles clearly with the blend name and creation date to track freshness
- Store containers on low-level shelves to prevent accidental drops and breakage
- Gently turn your bottles once a month to maintain the oil consistency
Remember to keep your perfume in its original packaging for extra protection, and regularly check for any signs of discoloration or spoilage.
Consider using air-tight bags for additional preservation if you're storing them long-term.
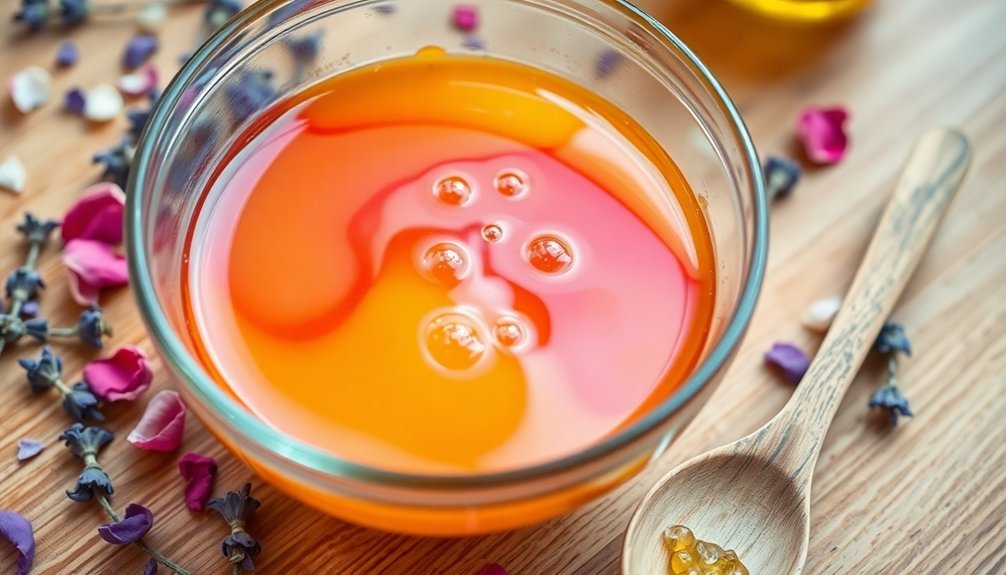
Customizing Your Scent Profile
Creating your unique healing balm perfume starts with understanding how different scents work together.
Begin by selecting essential oils that align with both your desired aromatherapy benefits and personal scent preferences. You'll want to follow the classic perfume structure of top, middle, and base notes, typically using a 40-40-20 ratio.
Start experimenting with calming oils like lavender or invigorating citrus oils such as bergamot and orange. Trust your instincts as you blend, but remember that not all oils mix well together.
Test small amounts on your skin to observe how the scent develops over time. You can adjust the ratios until you find your perfect combination.
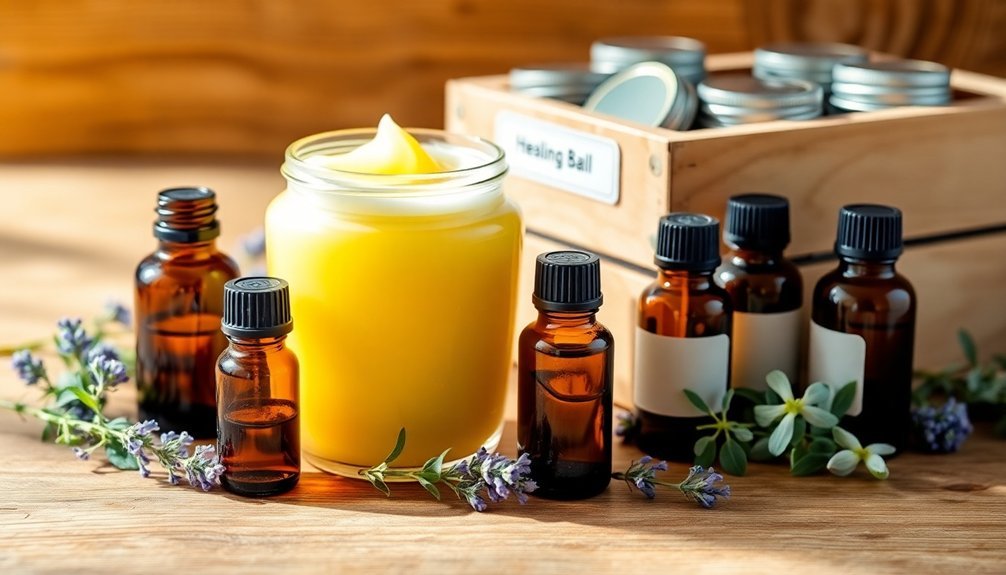
Natural Additives and Enhancements

When enhancing your healing balm perfume, natural additives play a vital role in both fragrance longevity and skin benefits.
You'll want to incorporate fixative elements like beeswax and natural extracts to extend your perfume's wear time. By adding moisturizing ingredients such as shea butter and jojoba oil, you're not only creating a better base for your scents but also nourishing your skin.
- Combine cocoa butter with essential oils like lavender or frankincense for a rich, therapeutic blend that lasts longer.
- Layer your scents using sandalwood or ylang ylang as base notes, supported by lighter oils like geranium.
- Add coconut oil to help lock in moisture while providing natural antimicrobial properties to your blend.
Consider using sustainable packaging for your creation, such as metal tins or paper pots, to minimize environmental impact.
Safety Considerations and Best Practices
To guarantee your DIY healing balm perfume is both safe and effective, you'll need to follow essential safety protocols and best practices throughout the creation process.
Always dilute your essential oils to 2-3% concentration with carrier oils like coconut or jojoba, and perform a patch test before applying new blends to your skin.
Proper dilution and patch testing are crucial steps to ensure your DIY healing balm is both gentle and safe for skin application.
Avoid using phytotoxic oils such as lemon and bergamot, which can cause sun sensitivity.
Store your finished balm in a cool, dark place and label it clearly with ingredients and usage instructions.
When preparing your blend, ascertain all equipment is clean and use a double boiler for safe melting.
Let your creation mature for a few days before making adjustments, and remember to use it within 6-9 months for ideal results.
Troubleshooting Common Issues
Despite careful preparation, DIY healing balm perfumes can present several common challenges that need addressing. You'll want to watch for issues like excessive scent strength, which can cause headaches, and insufficient scent duration from low-quality oils.
Pay attention to texture problems that might arise from improper wax melting or oil ratios.
- If your balm feels too grainy, verify you're fully melting the beeswax and maintaining proper temperature control during the cooling process.
- When scents fade too quickly, check that you're using high-quality essential oils and properly balancing your top, middle, and base notes.
- To prevent skin reactions, always perform a patch test and avoid using phototoxic oils without proper dilution.
Frequently Asked Questions
How Long Does Homemade Healing Balm Perfume Typically Last Before Expiring?
Your homemade healing balm perfume will typically last 6-12 months when properly stored. If it's oil-based and preservative-free, you'll want to check for changes in scent, color, or texture regularly.
Can I Use Fragrance Oils Instead of Essential Oils?
While you can use fragrance oils, they won't provide the therapeutic benefits of essential oils. If you're seeking healing properties and natural aromatherapy effects, you'll want to stick with essential oils.
Will the Balm Stain Clothing When Applied?
Yes, your balm can stain clothing. You'll want to let it absorb into your skin before dressing. Choose dark or sturdy fabrics, and if staining occurs, treat it immediately with soap and water.
How Many Applications Can I Get From a Standard 2-Ounce Container?
You'll typically get 50-100 applications from a 2-ounce container, depending on how thickly you apply the balm. Using a pea-sized amount per application will help maximize your container's longevity.
Can I Sell My Homemade Healing Balm Perfumes Legally?
You'll need to comply with local regulations, get proper certifications, and meet labeling requirements to sell legally. In the EU, you must have safety assessments, while US regulations vary by state.
Leave a Reply