For basic perfume dilution math, you'll need to remember that 20 drops equal 1 milliliter. Start with standard concentrations: Parfum (20-40% oils), EDP (15-20%), EDT (5-15%), and EDC (2-5%). For a 5ml rollerball blend, use 80 drops carrier oil to 20 drops essential oil (20% ratio). You can adjust this ratio down to 15% for sensitive skin applications. These foundational ratios open the door to more advanced perfume creation techniques.
Understanding Basic Perfume Concentrations

When exploring the world of perfumes, understanding concentration levels is key to making informed choices about fragrances.
Parfum represents the highest concentration, containing 20-40% perfume oils and lasting six to eight hours. You'll find it's the most expensive option due to its pure fragrance content. The fragrance note layers create its sophisticated scent profile.
Eau de Parfum follows with 15-20% oils, lasting four to five hours, while Eau de Toilette contains 5-15% oils with a three to four-hour duration.
For lighter options, you can choose Eau de Cologne with 2-5% oils lasting about two hours, or Eau Fraîche with just 1-3% oils and under two hours of staying power.
These lighter concentrations use more alcohol or water, making them ideal for casual wear and offering a revitalizing feel at a lower cost.
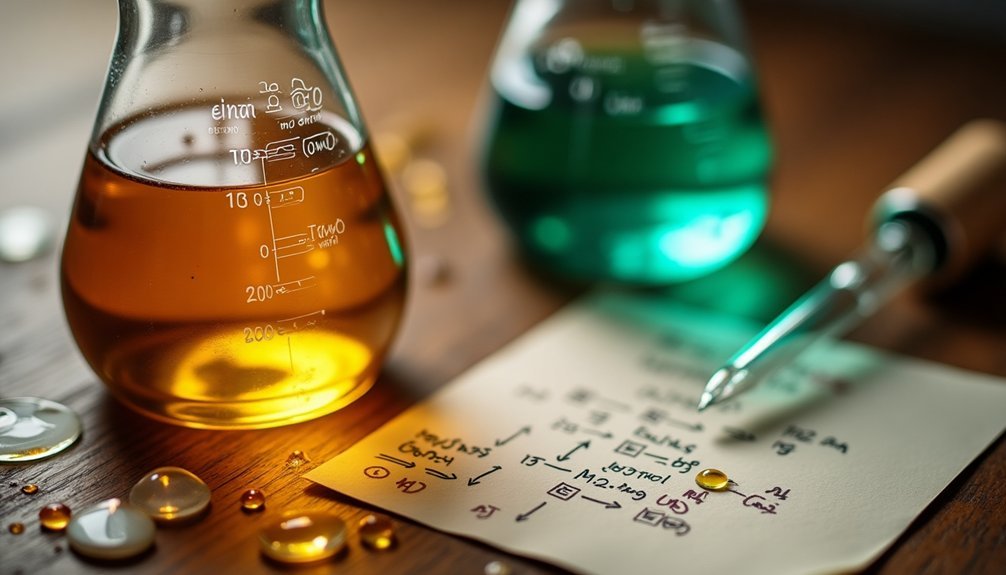
Essential Drop-to-Milliliter Conversions
You'll need to master basic drop counting to accurately measure perfume ingredients, starting with the fundamental conversion of 20 drops equaling 1 milliliter.
When scaling your perfume formulas, you can multiply this ratio to work with larger volumes, such as 100 drops equaling 5 milliliters.
Moving between these measurement systems becomes second nature once you understand that a full liter contains 20,000 drops, giving you the flexibility to work with any quantity your perfume creation requires.
For safe application, remember that 2% dilution rate is standard when mixing essential oils with carrier oils for topical use.
Drop Counting Basics
Understanding drop-to-milliliter conversions forms the foundation of perfume dilution calculations.
You'll find that a standard glass dropper or pipette delivers approximately 20 drops per milliliter, though this can vary slightly. To determine the total drops in your formula, simply multiply your desired volume in milliliters by 20.
For example, if you're working with a 5ml bottle, you'll have 100 drops total to work with.
Since dropper bottles aren't completely precise, you'll want to use larger batches to minimize variations. When you're working with precise formulations, it's best to convert your measurements to weight using a scale that measures to 1/1000th of a gram. Initial sketches typically require between 10 to 50 drops for proper fragrance formulation.
This guarantees your formula remains consistent and repeatable, especially when you're working with multiple ingredients.
Scaling Volume Accurately
Scaling perfume volumes accurately requires mastering essential drop-to-milliliter conversions. While the standard conversion is 20 drops per milliliter, you'll find this ratio varies based on your dropper and the liquid's consistency.
Water might give you 27-28 drops per milliliter, while oils can range from 37-41 drops.
To guarantee accuracy when scaling up your formulas, you'll want to convert drop measurements to weight using an electronic balance. This method eliminates the variability of drop sizes and helps you maintain consistent ratios.
Remember these common conversions: 1 teaspoon equals 100 drops, 1 tablespoon equals 300 drops, and 1 ounce equals 600 drops.
For best results, stick to the same dropper and measuring technique throughout your perfume-making process.
Converting Between Measurement Systems
When working with perfume formulas, mastering the conversion between drops and milliliters is essential for achieving precise measurements.
You'll find that one drop equals 0.05 mL, making it easy to convert between the two systems. To calculate drops to mL, multiply your drop count by 0.05, and to convert mL to drops, divide by 0.05.
Common conversions you'll frequently use include 20 drops equaling 1 mL, 10 drops equaling 0.5 mL, and 100 drops equaling 5 mL.
While you can use online calculators or conversion charts, knowing these basic ratios will help you work more efficiently. This consistency in measurement remains reliable across different liquids, allowing you to maintain accuracy whether you're creating small test batches or scaling up your formulations.
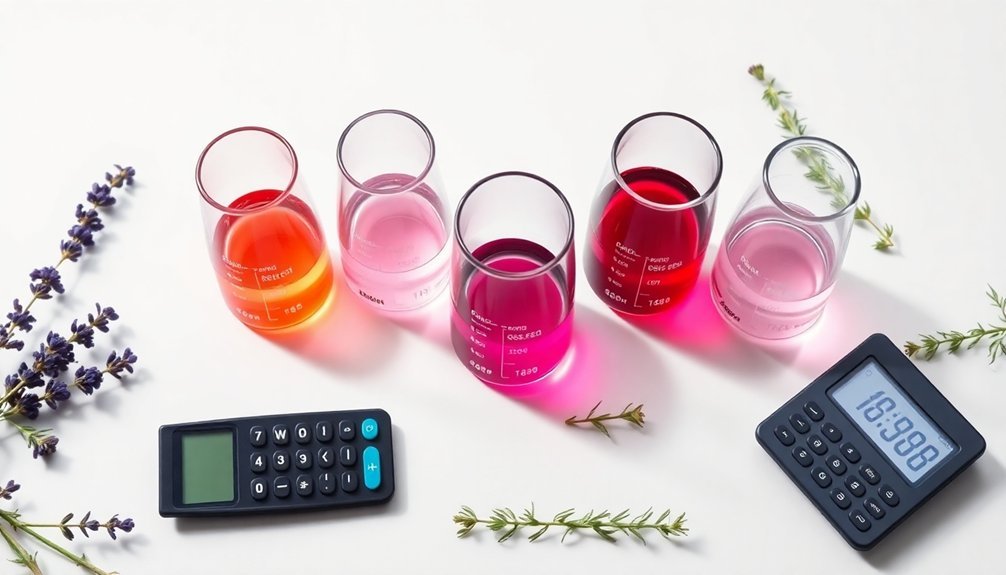
Working With Carrier Oil Ratios
The proper balance between carrier oils and essential oils forms the foundation of successful perfume creation.
You'll want to start with a 20% concentration of essential oils in your carrier oil mixture, though you can adjust this down to 15% for sensitive skin. For a standard 5 ml rollerball bottle, combine 80 drops of carrier oil with 20 drops of essential oil.
Choose your carrier oil based on your skin type and desired outcome. If you have oily skin, opt for lightweight grapeseed oil. For dry skin, jojoba oil works best as it mimics your skin's natural oils.
When working with facial products, keep essential oil concentrations between 1-2%, while perfumes typically use 10%. Always perform a patch test before applying any new blend to your skin.
Calculating Small Batch Formulations

When you're working with small perfume batches, you'll need to convert standard formulations into manageable quantities using drop measurements and precise scaling.
You can transform larger recipes by dividing the total formula weight by your desired batch size, ensuring each component maintains its original proportional relationship.
Converting milliliters to drops (with approximately 20 drops per ml) helps you achieve accurate measurements for tiny quantities while preserving the fragrance's intended character.
Mini-Batch Drop Conversion
Since perfume formulation often begins with small test batches, mastering drop-to-weight conversion is essential for creating repeatable results.
You'll need an electronic balance that measures to 1/1000th of a gram to accurately convert your drop-based formulas to weight.
To minimize variations in drop size, you'll want to scale up your initial formula so no ingredient uses fewer than two drops.
Weigh each ingredient carefully, then calculate its percentage in the total mixture. For example, if you've added 3 grams of rose absolute to a 35-gram solution, you're using 8.57% rose absolute.
Once you've converted your formula to weights, you can reliably reproduce it and scale it up for larger batches while maintaining the same proportions and fragrance profile.
Scale-Down Formulation Tips
Creating small test batches requires careful attention to scaling down your perfume formulations while maintaining precise proportions.
You'll need to convert your standard measurements using specific gravity values to guarantee accuracy in smaller quantities. When working with drops, multiply each ingredient's drop count by its specific gravity to calculate precise weights.
- Use an electronic balance that measures to 1/1000th of a gram for maximum precision in small batches.
- Increase the number of drops proportionally to minimize variations when scaling down.
- Calculate percentages based on total weight, not volume, to maintain proper ratios.
Remember to document all measurements and adjustments during your scale-down process.
Let your test batches mature for several weeks, then evaluate the results using test blotters before scaling back up to full-size formulations.
Scaling Recipes for Different Bottle Sizes
Because perfume formulations come in various bottle sizes, mastering the art of scaling recipes is essential for maintaining consistent fragrance quality.
You'll need to adjust your calculations based on both the desired concentration and bottle size.
For small 30ml bottles, you'll want to use higher concentrations like EDPs (15-20% oils) since they're typically used sparingly.
Medium 50-75ml bottles work well with EDT concentrations (5-15% oils), while larger 100ml+ bottles are better suited for lighter formulations like EDC (2-4% oils).
To scale accurately, convert all measurements to weight rather than drops.
For example, if you're making a 40% strength perfume in a 15ml bottle, you'll need 6ml of fragrance oil.
Always test each batch on a blotter to guarantee consistency across different sizes.
Safety Thresholds and Dilution Limits
While crafting perfumes can be exciting, understanding safety thresholds and dilution limits is essential for protecting both yourself and your customers.
You'll need to follow specific concentration guidelines based on your product type and intended use.
For safe perfume formulation, remember these key thresholds:
- Eau de Parfum should contain 10-20% fragrance concentration
- Body sprays and facial products require lower concentrations (0.5-1%)
- Massage oils need 2-5% dilution in carrier oils
Don't rely on drops for measurement – always use a scale and work with percentages.
When formulating, you'll need to check IFRA and EU regulations for specific materials, especially with phototoxic ingredients like limonene.
Remember that increasing concentration doesn't always enhance therapeutic benefits but can raise the risk of adverse reactions.
Cost-Effective Blending Calculations
Three key factors drive cost-effective perfume blending: precise calculations, efficient ingredient use, and smart dilution practices. You'll save money by carefully measuring ingredients using a reliable scale and calculating exact dilutions before mixing. Consider using spreadsheet tools to automate these calculations and prevent waste.
| Cost Factor | Solution |
|---|---|
| Expensive Materials | Pre-dilute to 1-10% in ethanol |
| Test Batches | Start with 5-10ml samples |
| Material Storage | Use airtight containers |
When working with costly ingredients like absolutes or synthetic civet, start with small test batches using the drop method. Once you've perfected your formula, scale up using weight measurements. Pre-dilute strong materials like vanillin to 1% and synthetic civet to 0.1% to guarantee precise control and reduce waste of these expensive components.
Professional Measurement Techniques

Professional perfume measurement demands precision tools and meticulous attention to detail.
You'll need a scale that measures to 0.01g accuracy, along with glass beakers and pipettes for precise liquid handling. Whether you're using a lab balance or jewelry scale, always tare between measurements and weigh components separately.
For consistent, accurate results, follow these essential steps:
- Calculate your dilutions using weight/weight ratios
- Zero your scale before each new ingredient
- Record every measurement in your formulation log
When creating dilutions, use a systematic approach – for a 10% solution, combine 1g of material with 9g of diluent.
Don't forget to label each creation clearly and maintain detailed records of your work. This documentation guarantees you can replicate successful formulations and track your progress over time.
Testing and Adjustment Methods
Once you've created your initial fragrance dilution, systematic testing and adjustment become essential steps in perfecting your formula. You'll need to employ both laboratory testing and sensory evaluation techniques to guarantee your creation meets quality standards.
| Test Type | Purpose | Method |
|---|---|---|
| Gas Chromatography | Component Analysis | Breaks down volatiles |
| Stability Testing | Consistency Check | Various conditions |
| Organoleptic | Sensory Quality | Expert evaluation |
When making adjustments, you'll want to focus on dilution ratios, typically using 10% for most materials and lower concentrations for potent ingredients. Always measure by weight rather than volume for precision. Through iterative testing, you'll evaluate volatility, durability, and olfactory evolution. Don't forget to conduct blind tests and panel evaluations to verify your fragrance maintains its intended character throughout its development stages.
Frequently Asked Questions
How Long Should Perfume Oils Rest Before Testing the Final Scent?
You'll want to let your perfume oils rest for 24-48 hours after receiving them to overcome any "mail shock." This brief rest period helps stabilize the fragrance and reveals its true scent profile.
Can I Mix Different Carrier Oils in the Same Perfume Blend?
Yes, you can mix different carrier oils in your perfume blend. You'll want to test compatibility and consider each oil's properties. Start with an 80/20 ratio of primary to secondary carrier oil.
Why Do Some Essential Oils Change Color After Dilution?
Your essential oils can change color after dilution due to chemical reactions with carrier oils, concentration changes, and the natural properties of both oils interacting. Light exposure can also affect these color shifts.
What's the Shelf Life Difference Between Diluted and Undiluted Perfume Oils?
You'll find the shelf life between diluted and undiluted perfume oils is similar, as both face the same degradation factors. However, diluted oils may oxidize slightly faster due to increased surface area exposure.
Does Temperature Affect the Dilution Process of Perfume Oils?
Yes, temperature considerably affects your perfume oil dilution. You'll find that warmer temperatures increase solubility, while cold temperatures can cause precipitation. For best results, you should dilute at room temperature.
In Summary
You'll find that perfume dilution math becomes second nature with practice. Keep these ratios and formulas handy as you start blending, and don't forget to document your successful combinations. Whether you're making small test batches or scaling up recipes, precise measurements are your key to consistent results. Trust your calculations, but always verify your work and test each blend before finalizing.
Leave a Reply